YOLO를 정상적으로 작동시키기 위해서 tensorflow가 필요하다고 하는데
tensorflow가 가상환경에서 제대로 돌아갈지 의문이다.
일단 되는데 까지 해보고
그리고 GPU가 필요하다.
처음에 하는 것은 yolov3이다.
일단 뭐 해보고 안되는게 나은거니까
cd venv
python3 -m venv yolo
source ~/venv/yolo/bin/activate
바로 시작하자
pip install opencv-python jupyter
코드 실행에는 3가지 파일이 필요하다.

yolov3의 가중치가 담겨있는 파일
coco.names
yolov3.cfg
해당 파일은 구글링하면 나오는데,
그걸 git clone해서 3개의 파일을 미리 빼서 보는 것이다.
(뒤에서 git clone을 진행할 것이기 때문에 따로 깊게 설명은 안하겠다.)
workspace 에 yolo를 만들고 code . 을 입력하면
visual studio code가 실행된다.
혹시 cv2를 못읽는다면

표시된 부분을 클릭하고 가상환경 접속하듯이
venv/yolo/bin/python3 파일을 선택하면 된다.
여튼 같은 자리에 넣어주고
해당 코드를 입력한다.
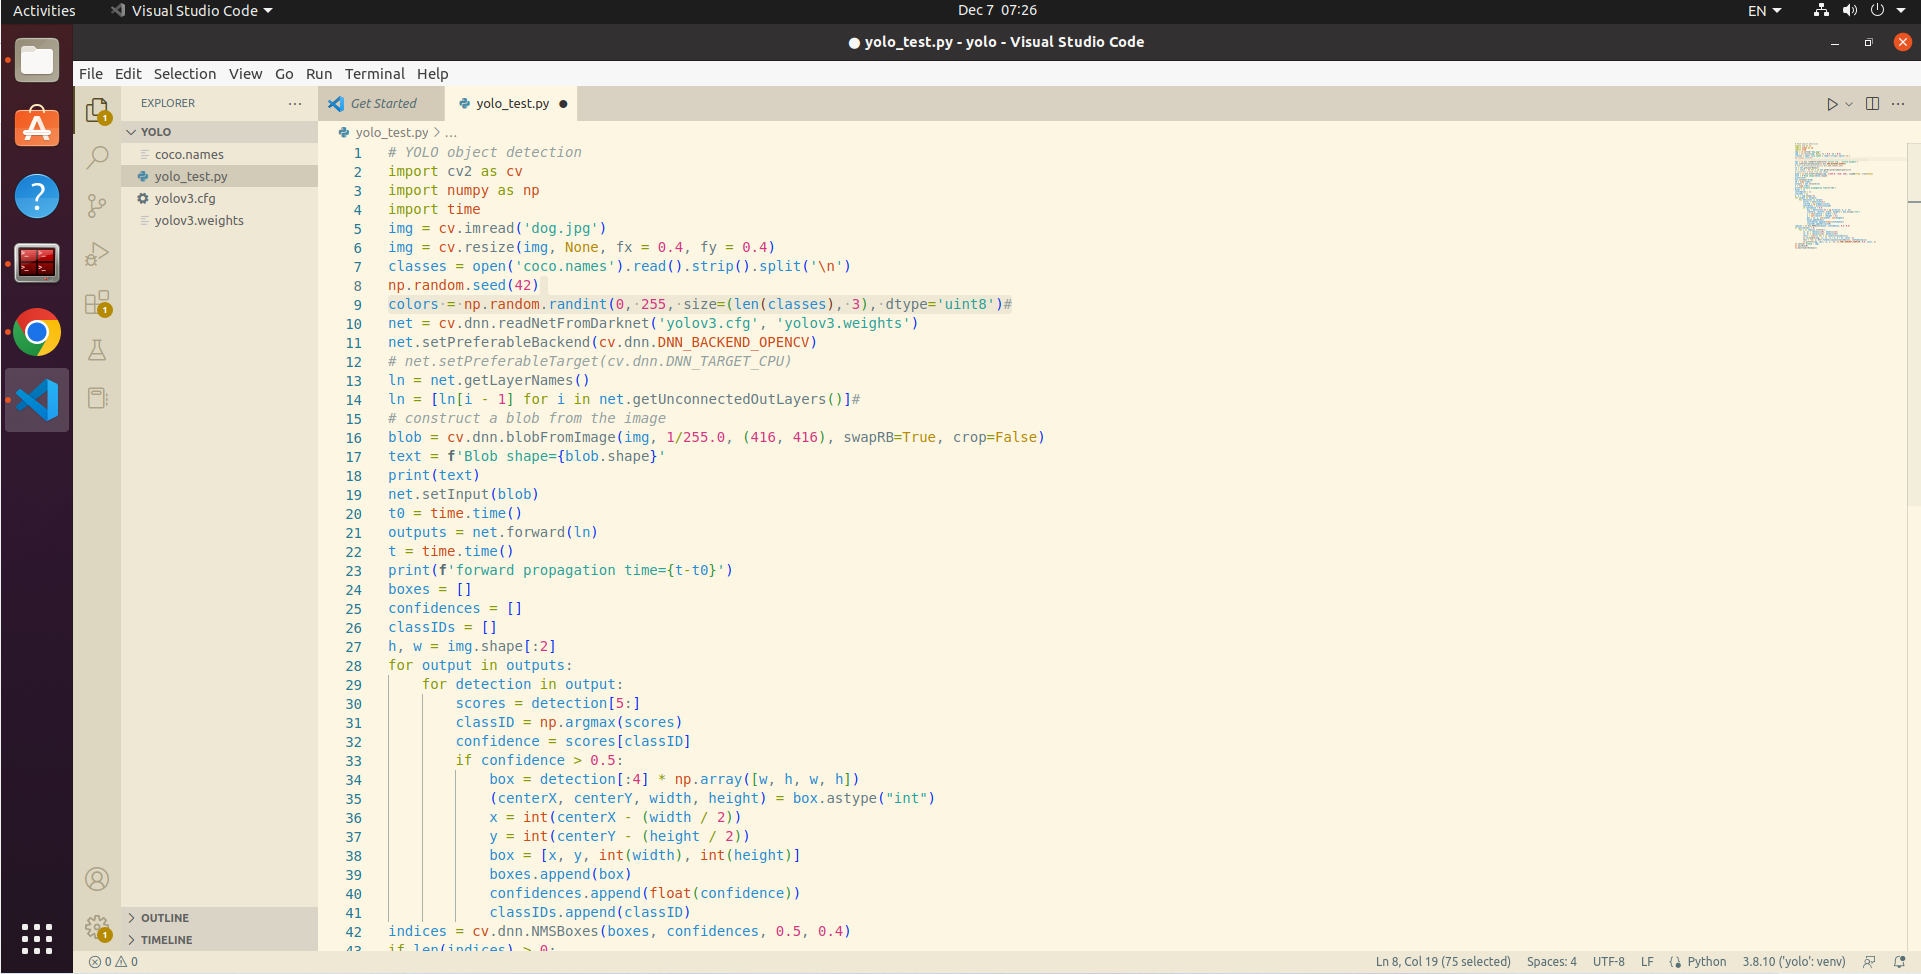
근데, 사진이 하나 필요하다.
저작권을 위반하지 않는 사진이..
# YOLO object detection
import cv2 as cv
import numpy as np
import time
img = cv.imread('dog.jpg')
img = cv.resize(img, None, fx = 0.4, fy = 0.4)
classes = open('coco.names').read().strip().split('\n')
np.random.seed(42)
colors = np.random.randint(0, 255, size=(len(classes), 3), dtype='uint8')#
net = cv.dnn.readNetFromDarknet('yolov3.cfg', 'yolov3.weights')
net.setPreferableBackend(cv.dnn.DNN_BACKEND_OPENCV)
# net.setPreferableTarget(cv.dnn.DNN_TARGET_CPU)
ln = net.getLayerNames()
ln = [ln[i - 1] for i in net.getUnconnectedOutLayers()]#
# construct a blob from the image
blob = cv.dnn.blobFromImage(img, 1/255.0, (416, 416), swapRB=True, crop=False)
text = f'Blob shape={blob.shape}'
print(text)
net.setInput(blob)
t0 = time.time()
outputs = net.forward(ln)
t = time.time()
print(f'forward propagation time={t-t0}')
boxes = []
confidences = []
classIDs = []
h, w = img.shape[:2]
for output in outputs:
    for detection in output:
        scores = detection[5:]
        classID = np.argmax(scores)
        confidence = scores[classID]
        if confidence > 0.5:
            box = detection[:4] * np.array([w, h, w, h])
            (centerX, centerY, width, height) = box.astype("int")
            x = int(centerX - (width / 2))
            y = int(centerY - (height / 2))
            box = [x, y, int(width), int(height)]
            boxes.append(box)
            confidences.append(float(confidence))
            classIDs.append(classID)
indices = cv.dnn.NMSBoxes(boxes, confidences, 0.5, 0.4)
if len(indices) > 0:
    for i in indices.flatten():
        (x, y) = (boxes[i][0], boxes[i][1])
        (w, h) = (boxes[i][2], boxes[i][3])
        color = [int(c) for c in colors[classIDs[i]]]
        cv.rectangle(img, (x, y), (x + w, y + h), color, 2)
        text = "{}: {:.4f}".format(classes[classIDs[i]], confidences[i])
        cv.putText(img, text, (x, y - 5), cv.FONT_HERSHEY_SIMPLEX, 0.5, color, 1)
cv.imshow('window', img)
cv.waitKey(0)
cv.destroyAllWindows()

강아지라고 인식하는 모습
여튼 여기까지는 opencv를 통해서 yolo를 맛본거라 생각하면 된다.
여튼 opencv로 열면 내가 어떤 것을 detaction하고 싶은지 지정을 할 수가 없다.
그러니 yolov5를 받아서 설치해줘야한다.
먼저 yolov5를 구글에 검색한다.

주소를 복사한다.
git clone https://github.com/ultralytics/yolov5.git을 터미널에 입력해서 다운받는다.

이게 끝이 아니다.
일단 가상환경은 계속 접속이 되어있어야하고
cd yolov5
pip install -r requirements.txt
그러면 yolov5 설치를 시작한다.
추가로 scikit-learn을 설치해야한다.
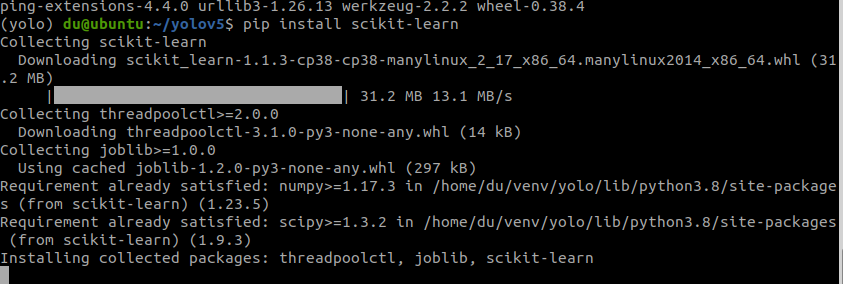
scikit-learn은 train_test split 을 위해서 필요하다.
학습은 yolo를 통해 진행하지만 학습을 위해서는 GPU가 필요하다.
(이 부분은 확인이 필요하다.)
여튼 이제 사진에서 특징을 뽑아내는 라벨링을 해야한다.
GitHub - heartexlabs/labelImg: LabelImg is now part of the Label Studio community. The popular image annotation tool created by
LabelImg is now part of the Label Studio community. The popular image annotation tool created by Tzutalin is no longer actively being developed, but you can check out Label Studio, the open source ...
github.com
이번엔 labelImg가 필요하다
아까처럼 git clone으로 다운로드 받자.
git clone https://github.com/heartexlabs/labelImg.git
이 프로그램을 구동하기 위해서는 pyqt가 필요하다.
일단 다음의 과정을 따라하자.
cd labelImg
sudo apt-get install pyqt5-dev-tools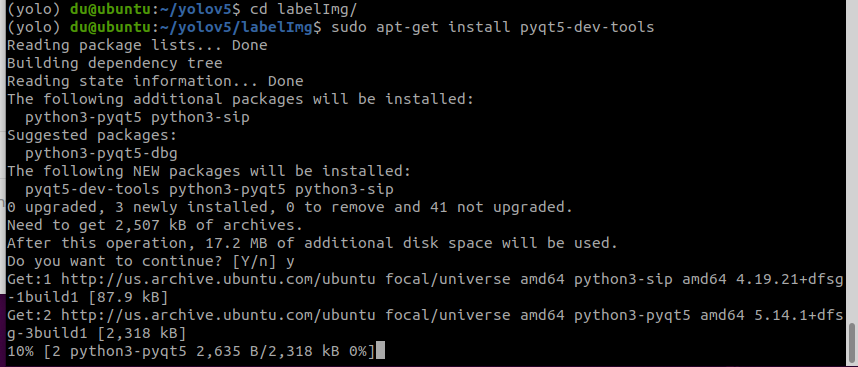
sudo pip3 install -r requirements/requirements-linux-python3.txt
설치가 완료된다.
make qt5py3
pip install pyqt5
이걸 한 번 더 입력해주고
이제
python labelImg.py이걸 입력하고 실행한다.

lxml이 설치가 안되었다고 나오는데
위에서 받은거 같은데 여튼 한 번더 받고 가겠습니다.

그러면 레이블링(라벨링)을 할 수 있는 프로그램이 실행됩니다.
일단 설치는 모두 끝났습니다.
이 이상으로 진행하고 싶으나 VM 웨어 가상환경으로는 한계가 있습니다.
학원 노트북을 가져올 수 있는 주말에 이 이상을 진행하도록 하겠습니다.
'공부#Robotics#자율주행 > 설치같은거' 카테고리의 다른 글
| obsidian을 사용해서 언제어디서나 접근가능한 문서 만들기 (Icloud) (6) | 2025.05.25 |
|---|---|
| (윈도우) 텐서플로우(GPU)를 설치해보자 (아나콘다) (0) | 2022.12.26 |
| 머신러닝 초기 설정 (0) | 2022.11.26 |
| 1. 파이썬을 활용한 opencv를 윈도우에 설치하자. (0) | 2022.10.12 |