Docker installation - Autoware Documentation (autowarefoundation.github.io)
Docker installation - Autoware Documentation
Docker installation Info Since this page explains Docker-specific information, it is recommended to see Source installation as well if you need detailed information. Here are two ways to install Autoware by docker: The first way is to start Autoware with p
autowarefoundation.github.io
(사양을 조금 많이 탑니다... 4050 달린 노트북에서 안돌아 갑니다.)
구동을 확인했던 사양은 i7 9700 이랑 3080 입니다.
우선 22.04의 설치법입니다.
Ubuntu 22.04의 경우 Docker없이 잘돌아갑니다.
- 어떤 그래픽 드라이버 버전이건 상관없음.
다만 autoware dependency check 부분에서 강제로 530이상의 버전으로 올려버림
- CUDA 11.6
- ROS Humble
sudo apt-get -y update
sudo apt-get -y install git
git clone https://github.com/autowarefoundation/autoware.git
cd autoware
./setup-dev-env.shy →우분투 비밀번호 입력 → install nvidia ~ → y → 이는 의존성을 설치해주는 것으로 아무 문제없이 설치됩니다.
cd autoware
mkdir src
vcs import src < autoware.repos
source /opt/ros/humble/setup.bash
rosdep update
rosdep install -y --from-paths src --ignore-src --rosdistro $ROS_DISTROcolcon build --symlink-install --cmake-args -DCMAKE_BUILD_TYPE=Release설치 확인을 위한 명령어
https://docs.google.com/uc?export=download&id=1499_nsbUbIeturZaDj7jhUownh5fvXHd
다음을 다운로드 합니다.
cd
mkdir autoware_map
source ~/autoware/install/setup.bash
ros2 launch autoware_launch planning_simulator.launch.xml map_path:=$HOME/autoware_map/sample-map-planning vehicle_model:=sample_vehicle sensor_model:=sample_sensor_kit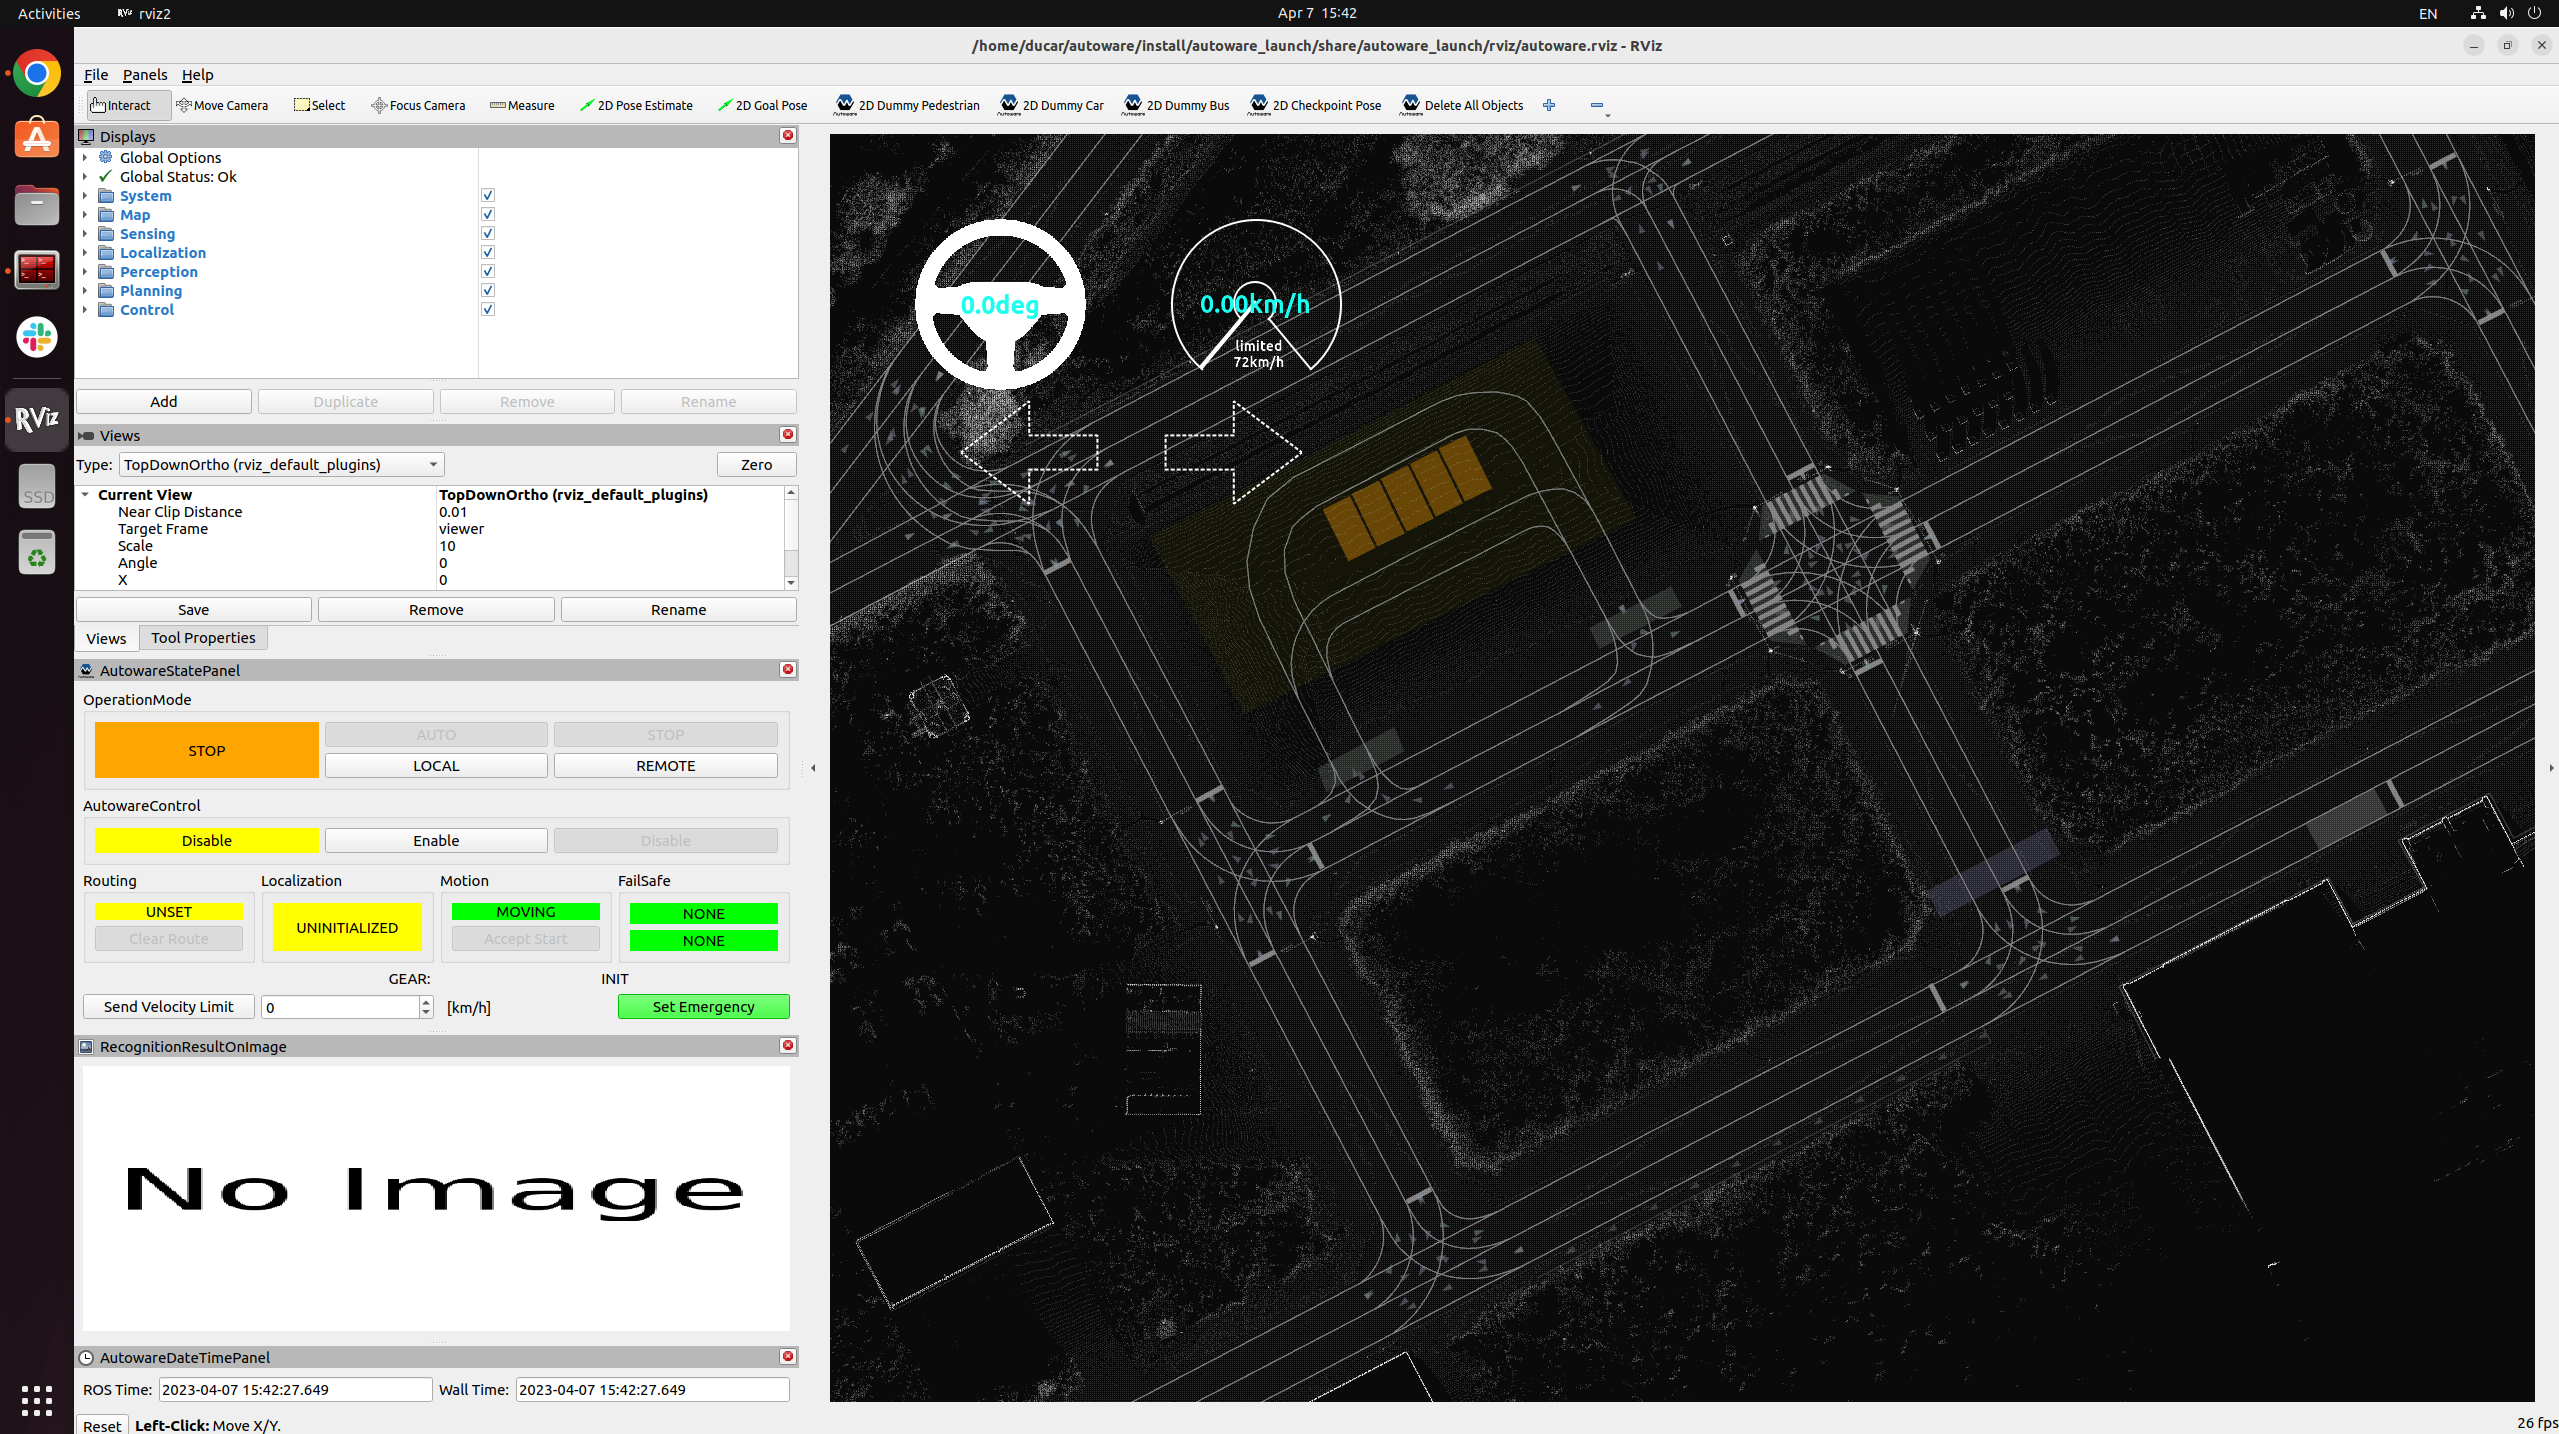
실행되면 성공입니다.
우분투 20.04의 설치법입니다.
Ubuntu 20.04
- 가장 최신의 그래픽 드라이버가 필요함
- CUDA 11.6
(20.04의 경우 dependency 체크를 하고 CUDA-Driver를 몇버전을 원하는지 체크한 후 다시 설치하는 것을 추천합니다.)
- ROS Foxy 가 편함
설치하기 전 Python을 설치합니다.
sudo apt install python3-pip
pip3 install --upgrade pip
sudo apt install python3.10-venv
(이거 안되면 3.8 일겁니다.)
추가로 GIT이 필요할 수도 있습니다.
sudo apt install git
autoware를 git clone합니다.
git clone https://github.com/autowarefoundation/autoware.git
cd autoware
dependency
dependency관련 내용입니다. documentation에서 설명하는 부분으로 넘어갑니다.
우선 NVDIA Container Tollkit을 설치합니다.
Installation Guide — NVIDIA Cloud Native Technologies documentation
Installation Guide — NVIDIA Cloud Native Technologies documentation
On RHEL 7, install the nvidia-container-toolkit package (and dependencies) after updating the package listing: Restart the Docker daemon to complete the installation after setting the default runtime: Note Depending on how your RHEL 7 system is configured
docs.nvidia.com
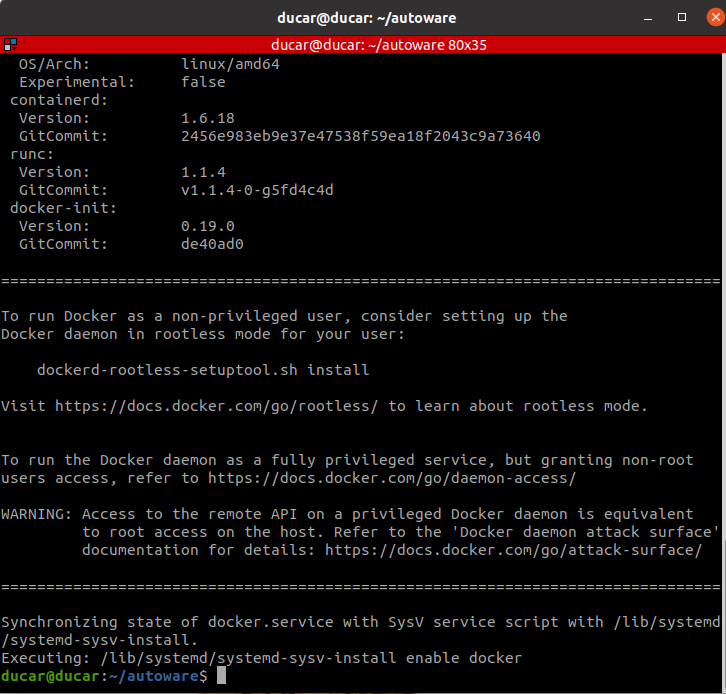
curl https://get.docker.com | sh \
  && sudo systemctl --now enable docker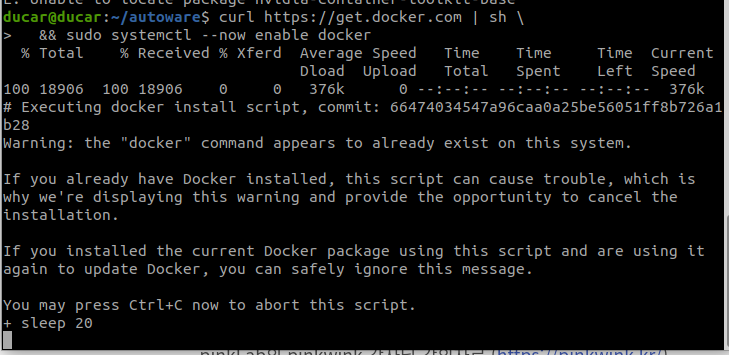
기다리면 진행됩니다.
이후에 다음을 입력합니다.
distribution=$(. /etc/os-release;echo $ID$VERSION_ID) \
      && curl -fsSL https://nvidia.github.io/libnvidia-container/gpgkey | sudo gpg --dearmor -o /usr/share/keyrings/nvidia-container-toolkit-keyring.gpg \
      && curl -s -L https://nvidia.github.io/libnvidia-container/$distribution/libnvidia-container.list | \
            sed 's#deb https://#deb [signed-by=/usr/share/keyrings/nvidia-container-toolkit-keyring.gpg] https://#g' | \
            sudo tee /etc/apt/sources.list.d/nvidia-container-toolkit.list
다음을 한줄한줄씩 입력합니다.
sudo apt-get update
sudo apt-get install -y nvidia-container-toolkit
sudo nvidia-ctk runtime configure --runtime=docker
sudo systemctl restart docker
sudo docker run --rm --runtime=nvidia --gpus all nvidia/cuda:11.6.2-base-ubuntu20.04 nvidia-smi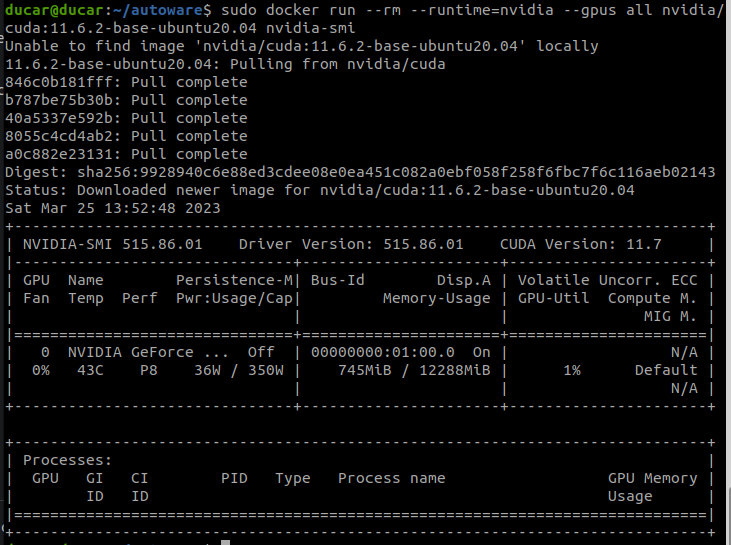
이러면 성공적으로 설치가 완료되었다는 뜻으로 보입니다
만약 오류가 발생한다면 다음의 명령어를 입력합니다.
cd /etc/apt/sources.list.d
sudo rm nvidia-container-toolkit.list
혹은 ChatGPT를 참고하는 것도 좋은 방법입니다.
다음으로는 rocker라는 친구를 설치합니다.
sudo apt-get install python3-rockerinstallation
1.
./setup-dev-env.sh docker설치를 진행하기 전에 dependency를 체크하는 부분입니다.
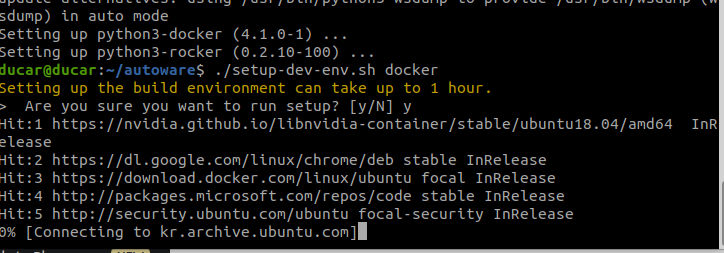
BECOME 어쩌구 나오는데, 비밀번호를 입력합니다.
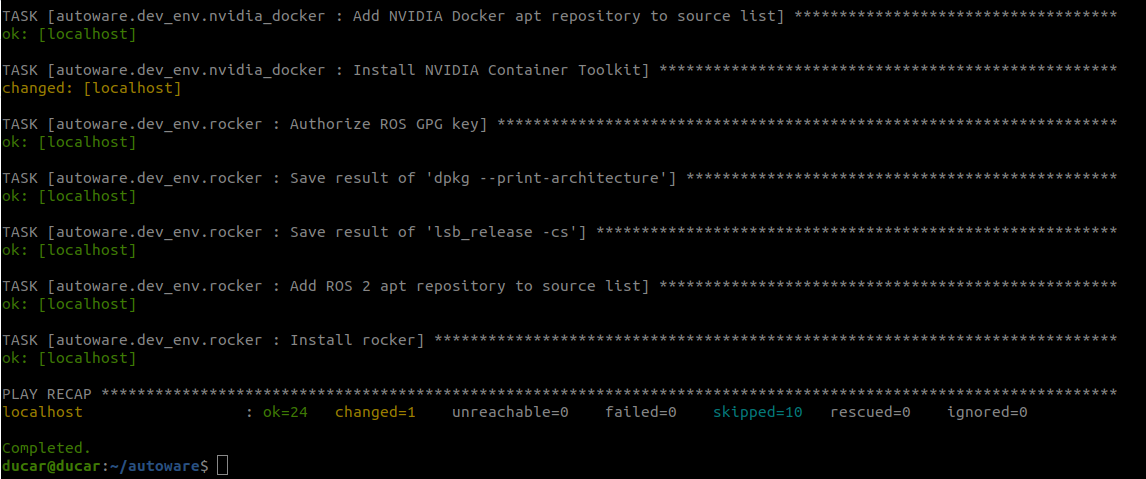
sudo apt-get clean
sudo apt-get update
설치가 완료되면 빌드를 진행합니다. 여기서부터는 docker를 사용합니다.
Docker installation for development - Autoware Documentation (autowarefoundation.github.io)
Docker installation for development - Autoware Documentation
Docker installation for development Prerequisites For NVIDIA Jetson devices, install JetPack >= 5.0 How to set up a development environment Clone autowarefoundation/autoware and move to the directory. git clone https://github.com/autowarefoundation/autowar
autowarefoundation.github.io
mkdir ~/autoware_map
sudo docker pull ghcr.io/autowarefoundation/autoware-universe:latest-cuda
꽤 걸립니다. 약 한 시간 가량 다운로드를 진행했습니다.
이제 도커를 실행하는 명령어입니다.
sudo rocker --nvidia --x11 --user --volume $HOME/autoware --volume $HOME/autoware_map -- ghcr.io/autowarefoundation/autoware-universe:latest-cuda이것저것 많이 뜨고 실행됩니다. 조금 오래기다리게됩니다.

이렇게 나오면 됩니다.
default로 /autoware로 경로가 설정되어 있습니다. 혹시 cd 명령어로 나가게 된다면 주의해야합니다.
cd /autoware다음을 진행합니다.
mkdir src
vcs import src < autoware.repos
일단 src폴더를 삭제하고 다시 만들겠습니다. 그렇게 해야 rosdep이 적용됩니다.
이제 ros 패키지의 dependency를 해결하고 빌드합니다.
sudo apt update
sudo apt upgrade
rosdep update
rosdep install -y --from-paths src --ignore-src --rosdistro $ROS_DISTRO
참고로 docker의 ROS버전은 Humble입니다.
빌드를 진행합니다.
colcon build --symlink-install --cmake-args -DCMAKE_BUILD_TYPE=Release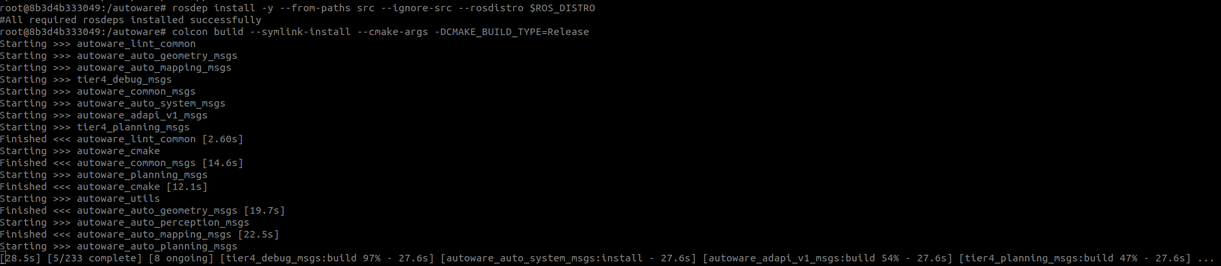
빌드 시간 최소 35~50분입니다.
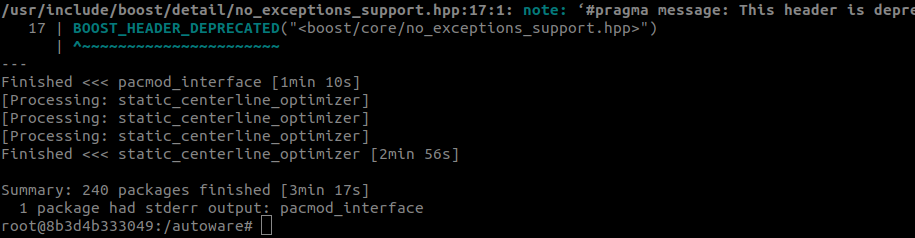
빌드됩니다. 이를 이제 새로운 이미지 파일로 저장하겠습니다.

sudo docker commit 8b3d4b333049 autoware_build:0.1
sudo docker image ls다음의 명령어로 확인이 가능하다.
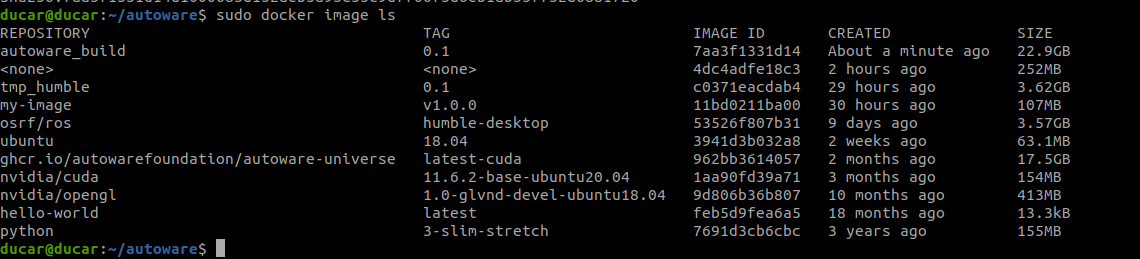
다음의 명령어를 통해서 autoware가 설치된 환경에 접근이 가능합니다.
sudo docker run -it autoware_build:0.1
실행을 통해 동작을 확인합니다.
source install/setup.bashgdown -O ~/autoware_map/ 'https://docs.google.com/uc?export=download&id=1499_nsbUbIeturZaDj7jhUownh5fvXHd'
sudo apt-get install unzip
unzip -d ~/autoware_map ~/autoware_map/sample-map-planning.zipros2 launch autoware_launch planning_simulator.launch.xml map_path:=$HOME/autoware_map/sample-map-planning vehicle_model:=sample_vehicle sensor_model:=sample_sensor_kit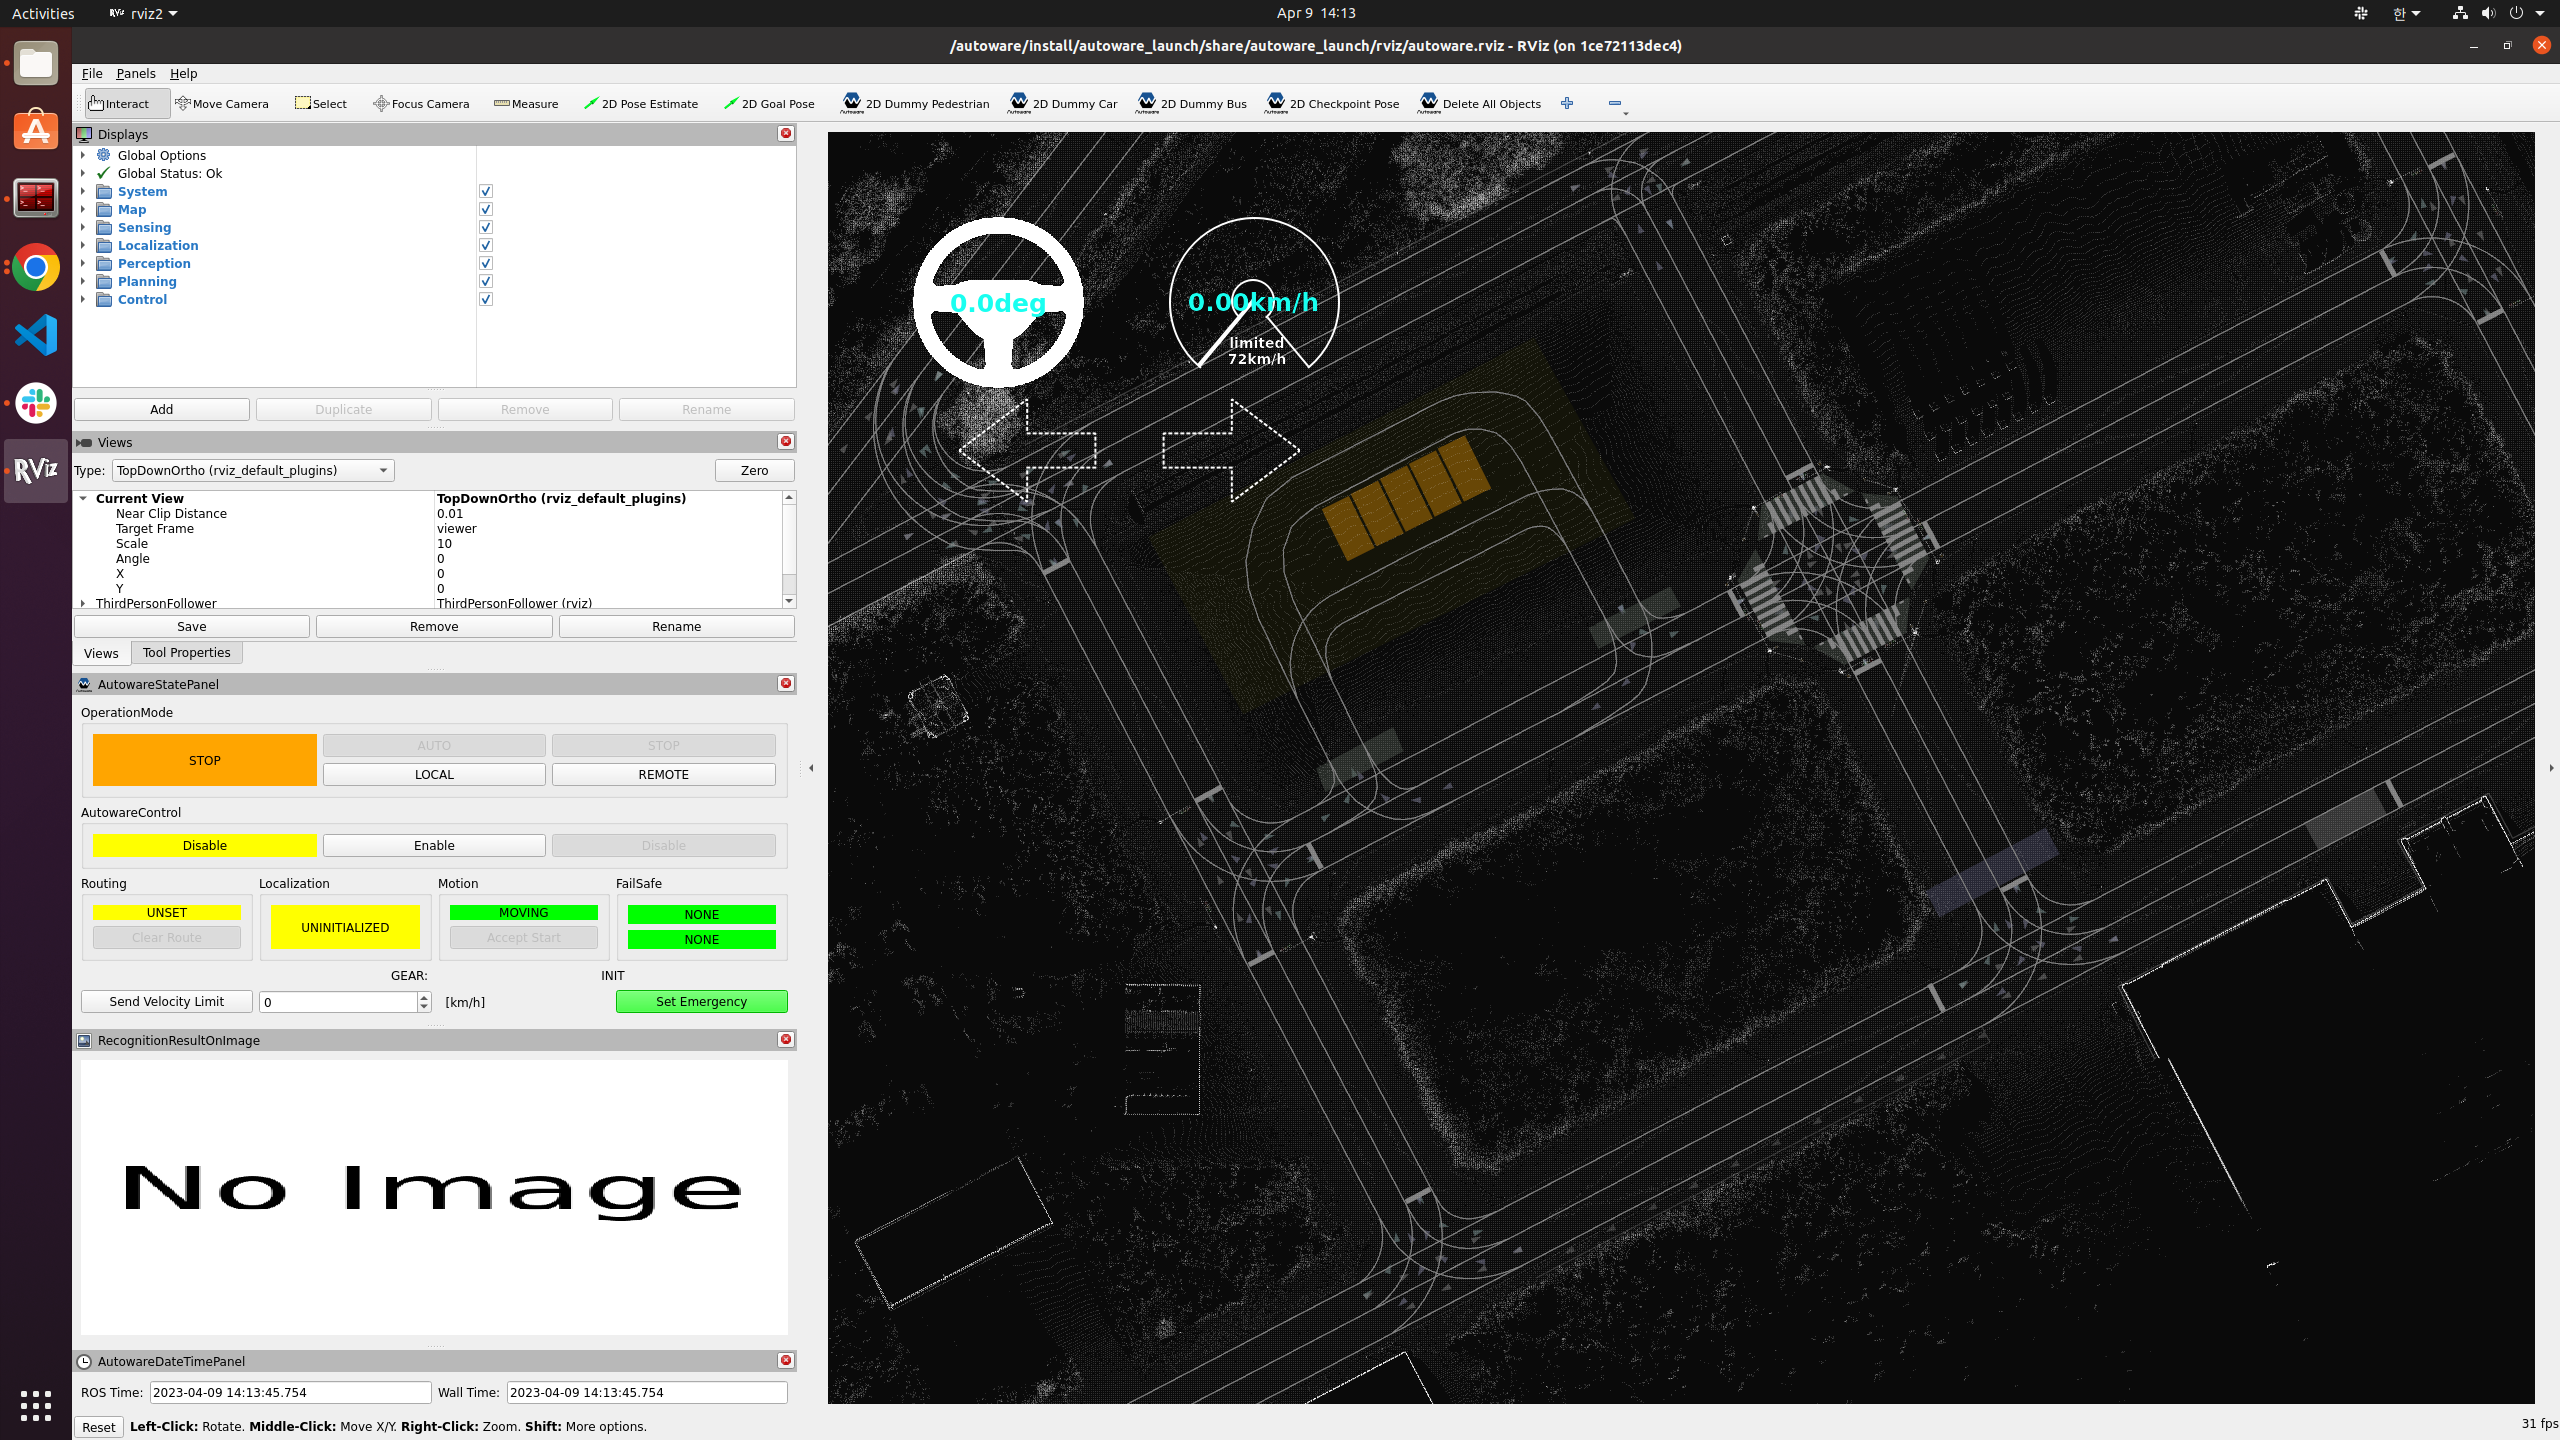
'공부#Robotics#자율주행 > autoware' 카테고리의 다른 글
| 3. Rosbag replay simulation (0) | 2023.04.11 |
|---|---|
| 2. Planning simulation (0) | 2023.04.11 |
| 1. autoware 듀토리얼 (0) | 2023.04.11 |