sudo apt install python-is-python3이걸로 일단 해결을 해본다.
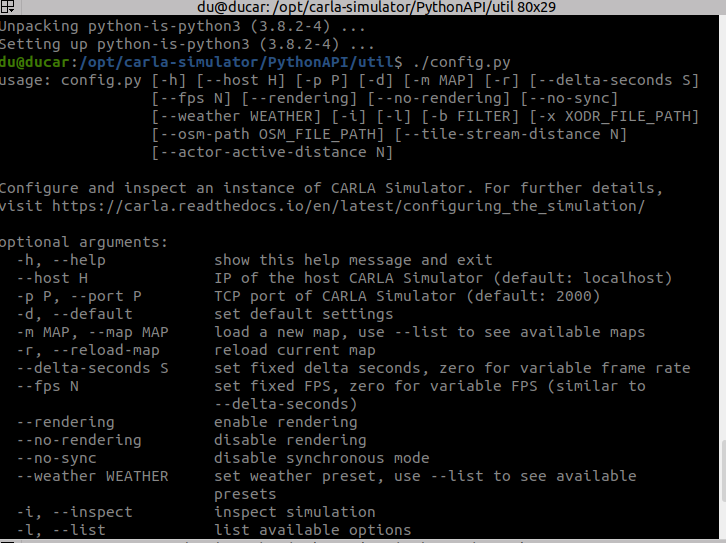
이런식으로 명령어 집합을 볼 수 있다. 도큐먼트에서 나온대로 날씨를 바꿔보거나 시간을 바꿔보거나 맵을 바꿔보자.

렌더링을 종료하는 옵션이며, 없애면 검정화면으로 변한다.
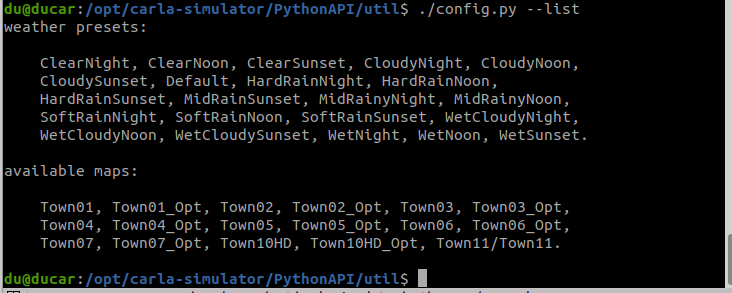
다음의 명령어를 사용하면 날씨와 사용가능한 맵을 볼 수 있다.
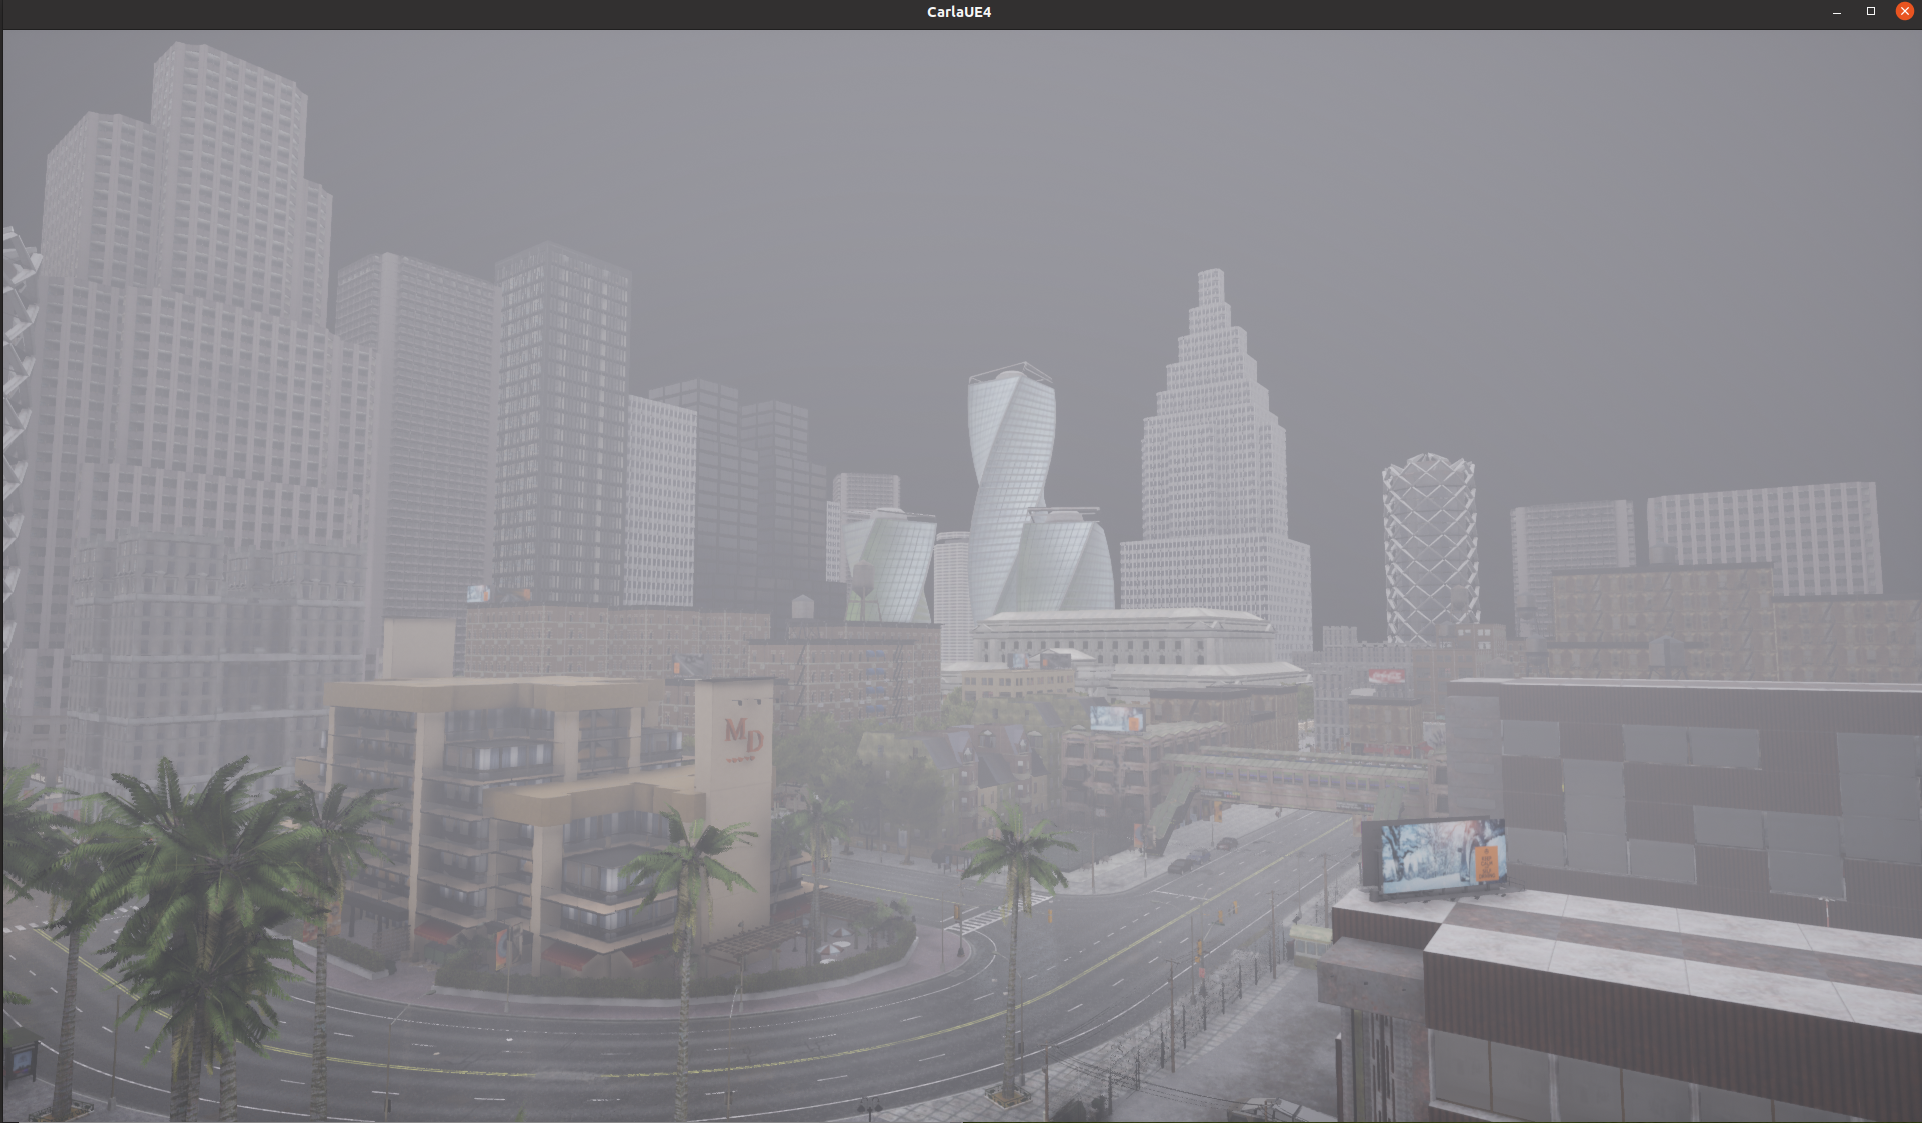
비가 오게 하거나,

비가오는 밤을 만드거나..

맵을 변경해보거나할 수 있다.
우선 우분투 20.04가 필요합니다.
https://carla.readthedocs.io/en/0.9.13/start_quickstart/
Quick start package installation - CARLA Simulator
This guide shows how to download and install the packaged version of CARLA. The package includes the CARLA server and two options for the client library. There are additional assets that can be downloaded and imported into the package. Advanced customizati
carla.readthedocs.io
System requirements
GPU : 적어도 6 GB VGA RAM을 가지는 그래픽카드가 필요합니다. (8GB를 추천함) 혹은 그 보다 높아야합니다.
저장소 : 20GB 의 저장용량이 필요합니다.
Python은 Python 2.7이상 이거나 Python3이상
추가로 최소한 3080 이상의 그래픽카드가 필요합니다.
(4070ti)
우선 Pip를 업그레이드 해야합니다.
pip3 install --upgrade pip
그리고 다음을 설치합니다.
pip install --user pygame numpy &&
pip3 install --user pygame numpy
데비안 설치를 진행합니다.
    sudo apt-key adv --keyserver keyserver.ubuntu.com --recv-keys 1AF1527DE64CB8D9
    sudo add-apt-repository "deb [arch=amd64] http://dist.carla.org/carla $(lsb_release -sc) main"
그 후에 다음 carla를 설치합니다.
  sudo apt-get update # Update the Debian package index
  sudo apt-get install carla-simulator # Install the latest CARLA version, or update the current installation
  cd /opt/carla-simulator # Open the folder where CARLA is installed
이제 에셋을 추가해주어야합니다. 도큐먼트와는 조금 다르게 진행됩니다.
cd /opt/carla-simulator우선 카를라가 깔려있는 폴더로 이동해서
./ImportAssets.sh에셋을 설치하고
./CarlaUE4.sh카를라를 실행하면 됩니다.
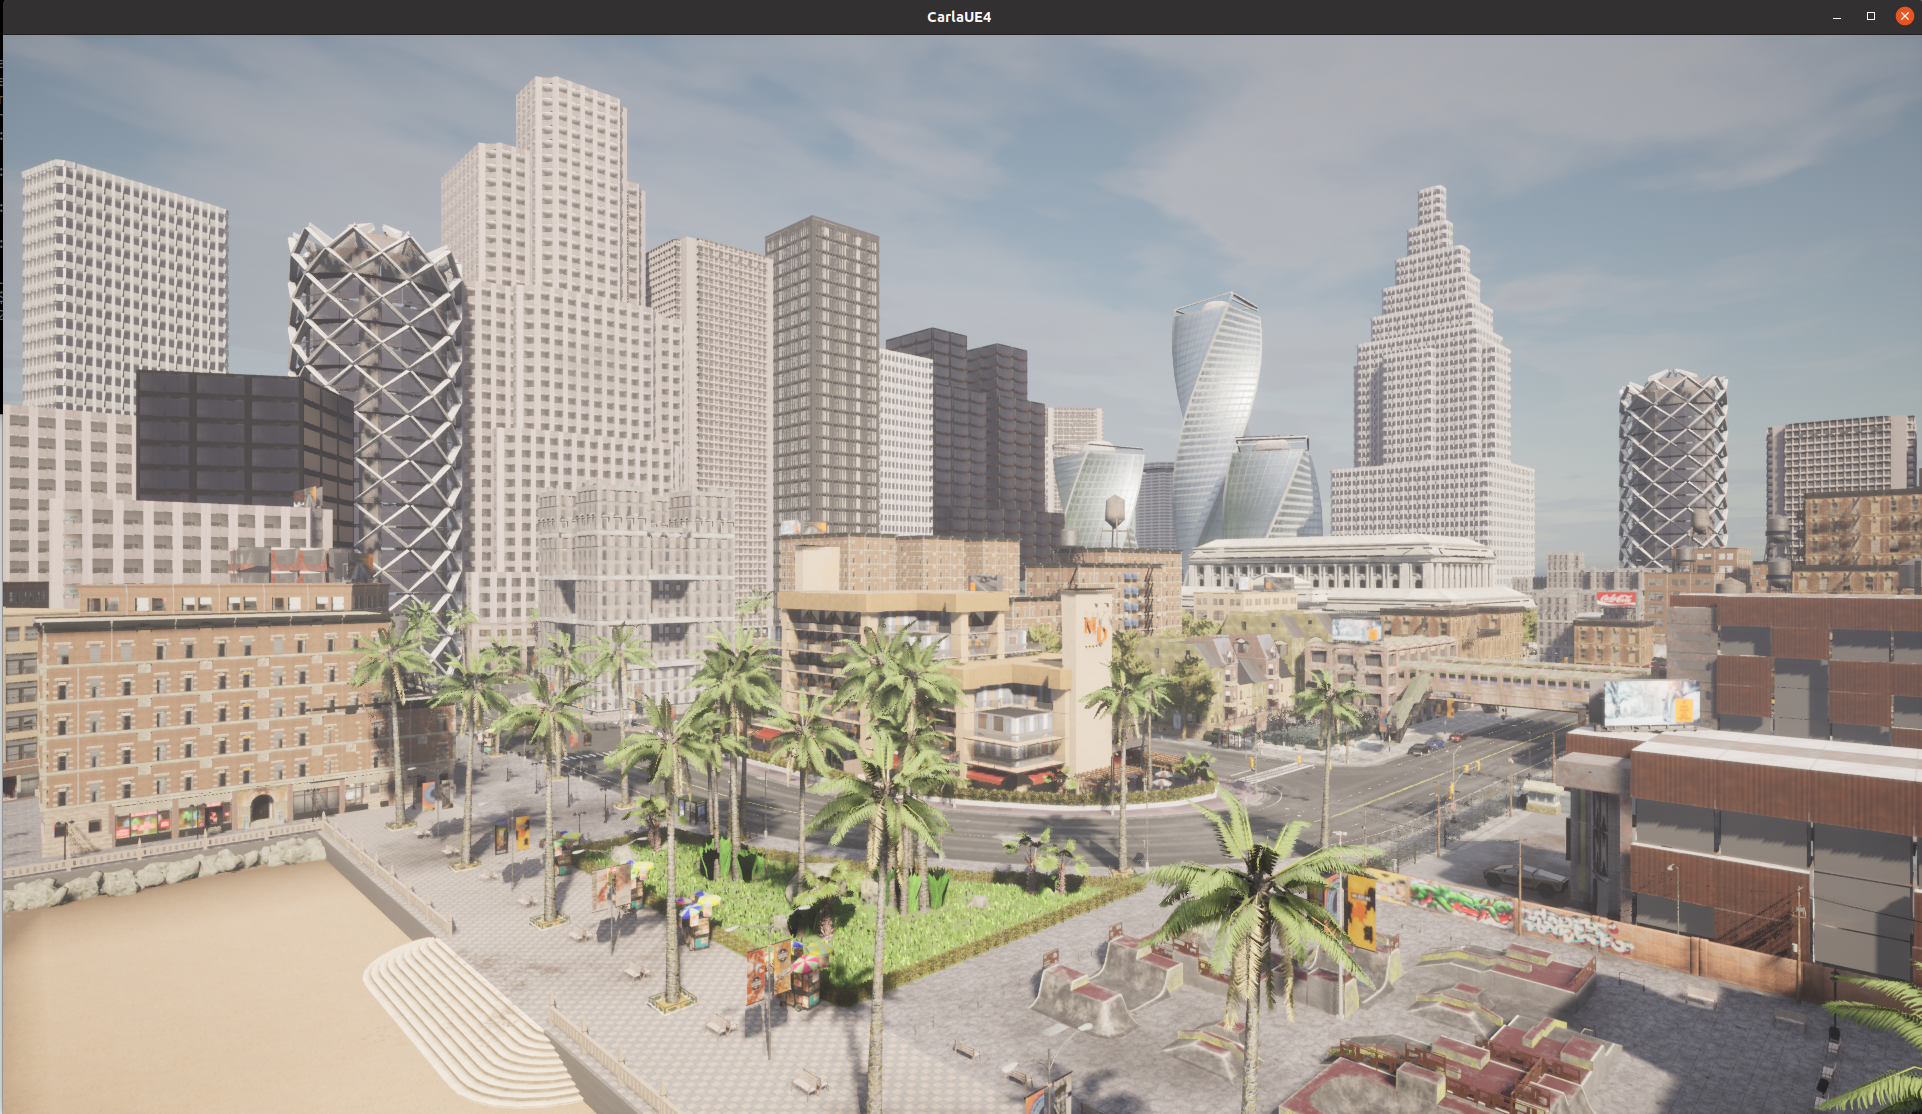
다음처럼 실행이 됩니다.
실행하기 편하게 bashrc에 단축키를 등록해놓읍시다.
gedit ~/.bashrcalias carla="cd /opt/carla-simulator; ./CarlaUE4.sh"
터미널을 재시작하면 carla만 입력하면 됩니다.
그러면 카를라가 실행된 모습에서 WASD를 통해서 날아다닐 수도 있습니다.
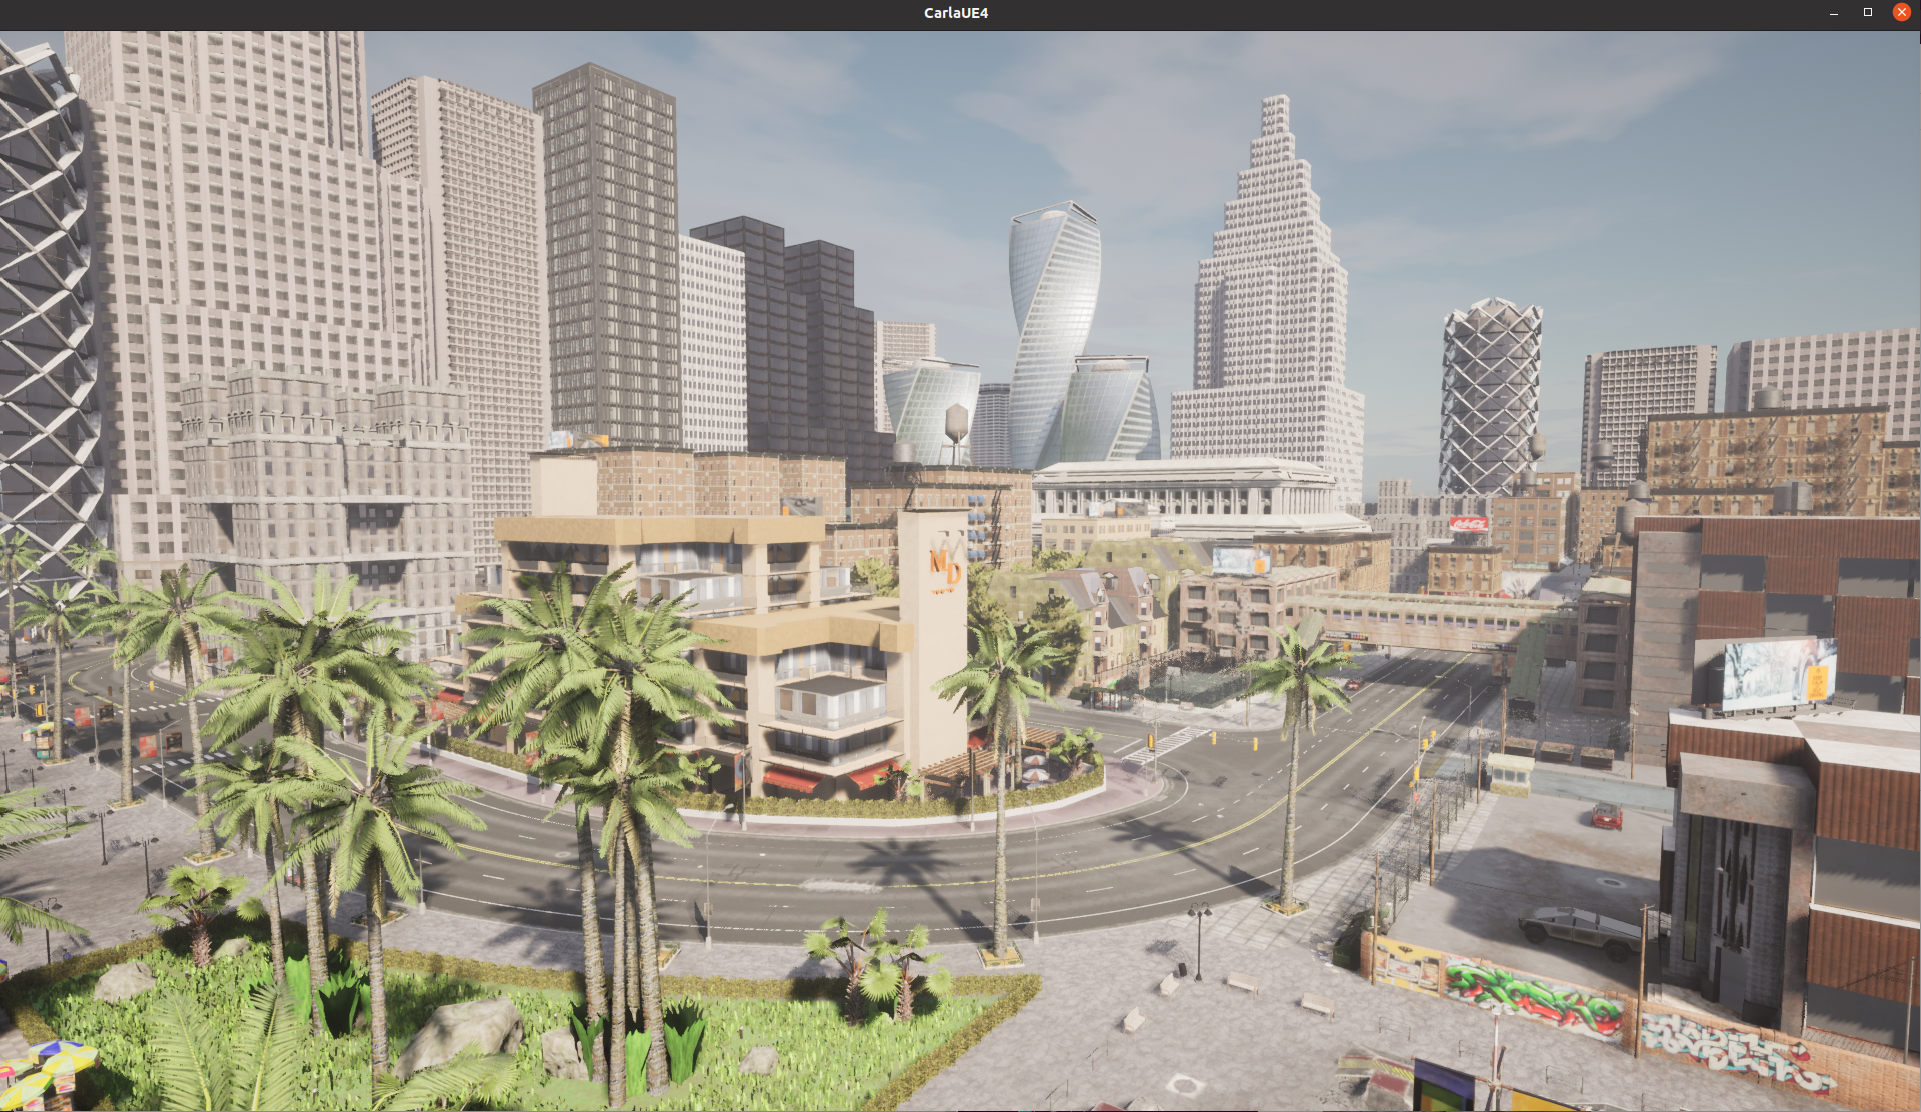
추가적으로 마우스왼쪽이나 오른쪽 클릭을 하면 시점을 변환시킬 수 있습니다.
이제 이 월드에 자동차를 스폰시키거나 사람을 스폰시키거나 할 수 있습니다.
데비안으로 설치를 했기 때문에 도큐먼트와 다르게 접근합니다.
터미널을 두개 열어야합니다.
cd /opt/carla-simulator/PythonAPI/examples
python3 -m pip install -r requirements.txt
우선 requirements.txt로 의존성패키지를 설치합니다.
설치가 마무리되면 다음을 따라합니다.
터미널 1에서는 carla를 실행합니다.

터미널 2와 3에서는 스폰을 해봅시다.
cd /opt/carla-simulator/PythonAPI/examples
python3 generate_traffic.py 
다음처럼 자동차와 오토바이 사람등을 스폰시켰습니다.
cd /opt/carla-simulator/PythonAPI/examples
python3 manual_control.py 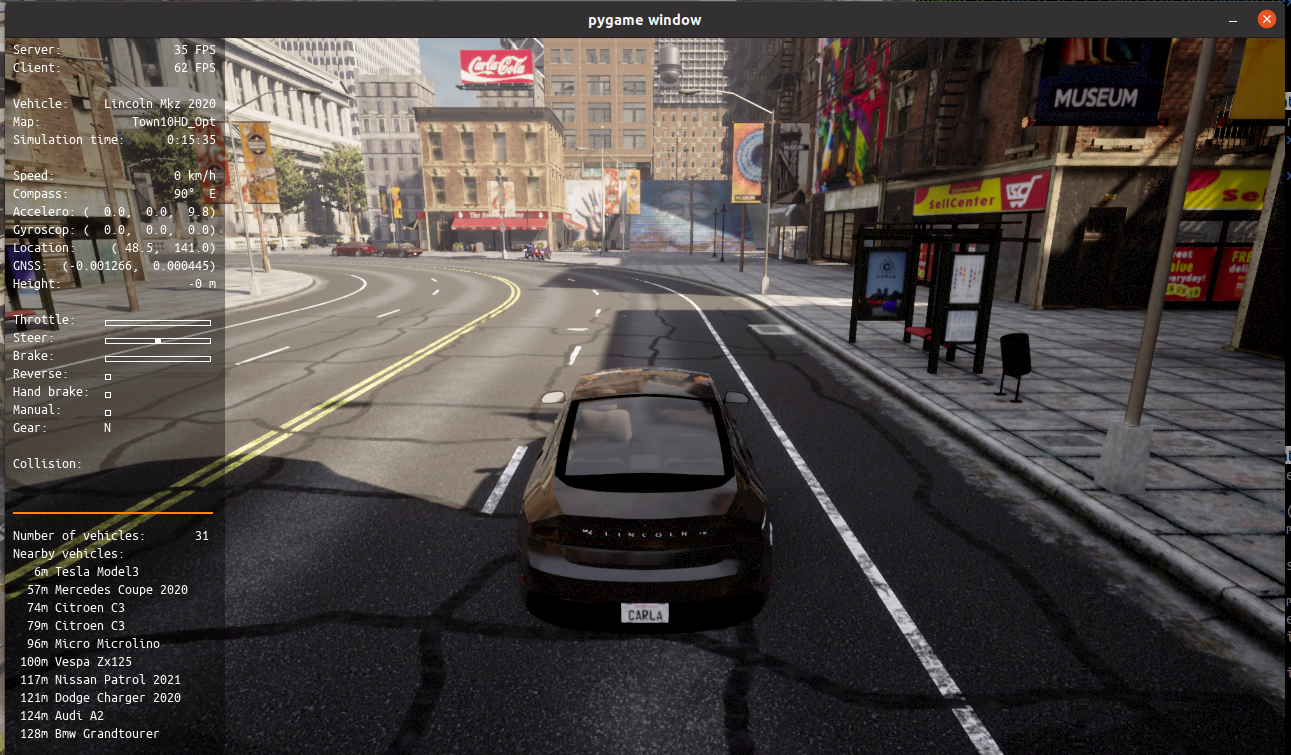
차량을 직접 운전할 수 있는 상태가 됩니다.
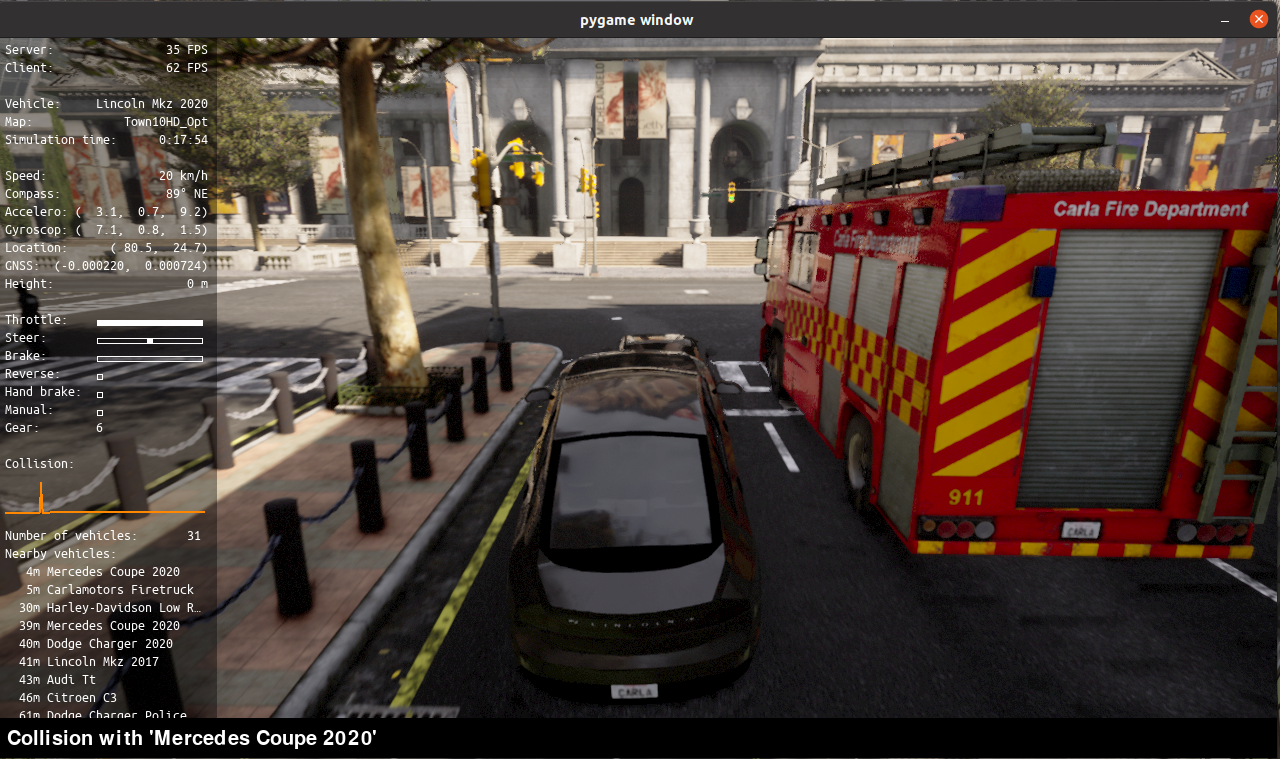
조작감은 상당히 별로인듯.. 방향키로 움직일 수 있음…
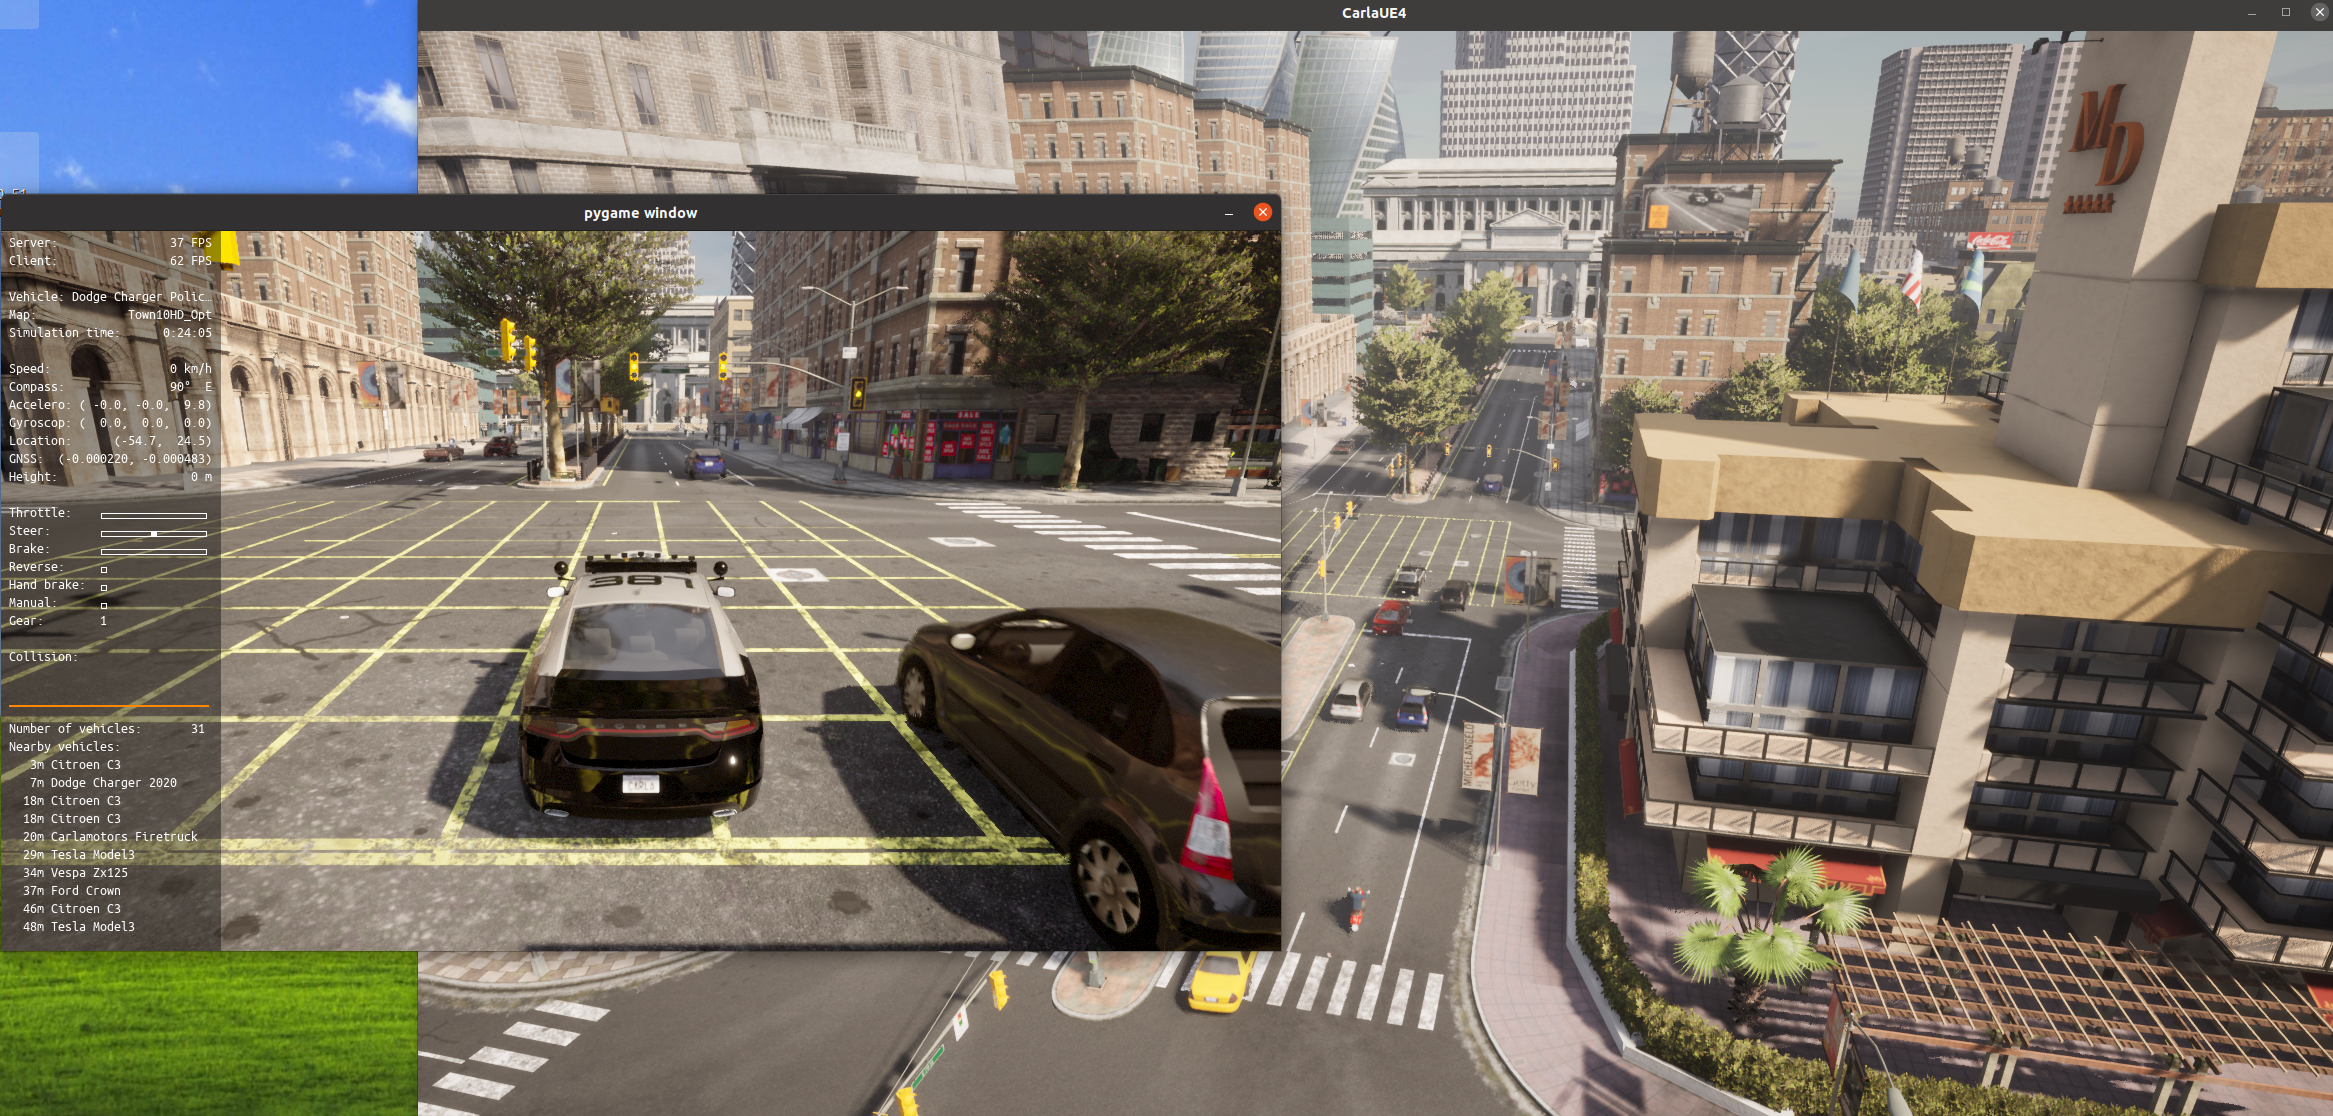
신기함..
여튼 사양에대한 이야기도 있으며 실행시에 다음 줄을 추가하면됨
-quality-level={Low,Epic}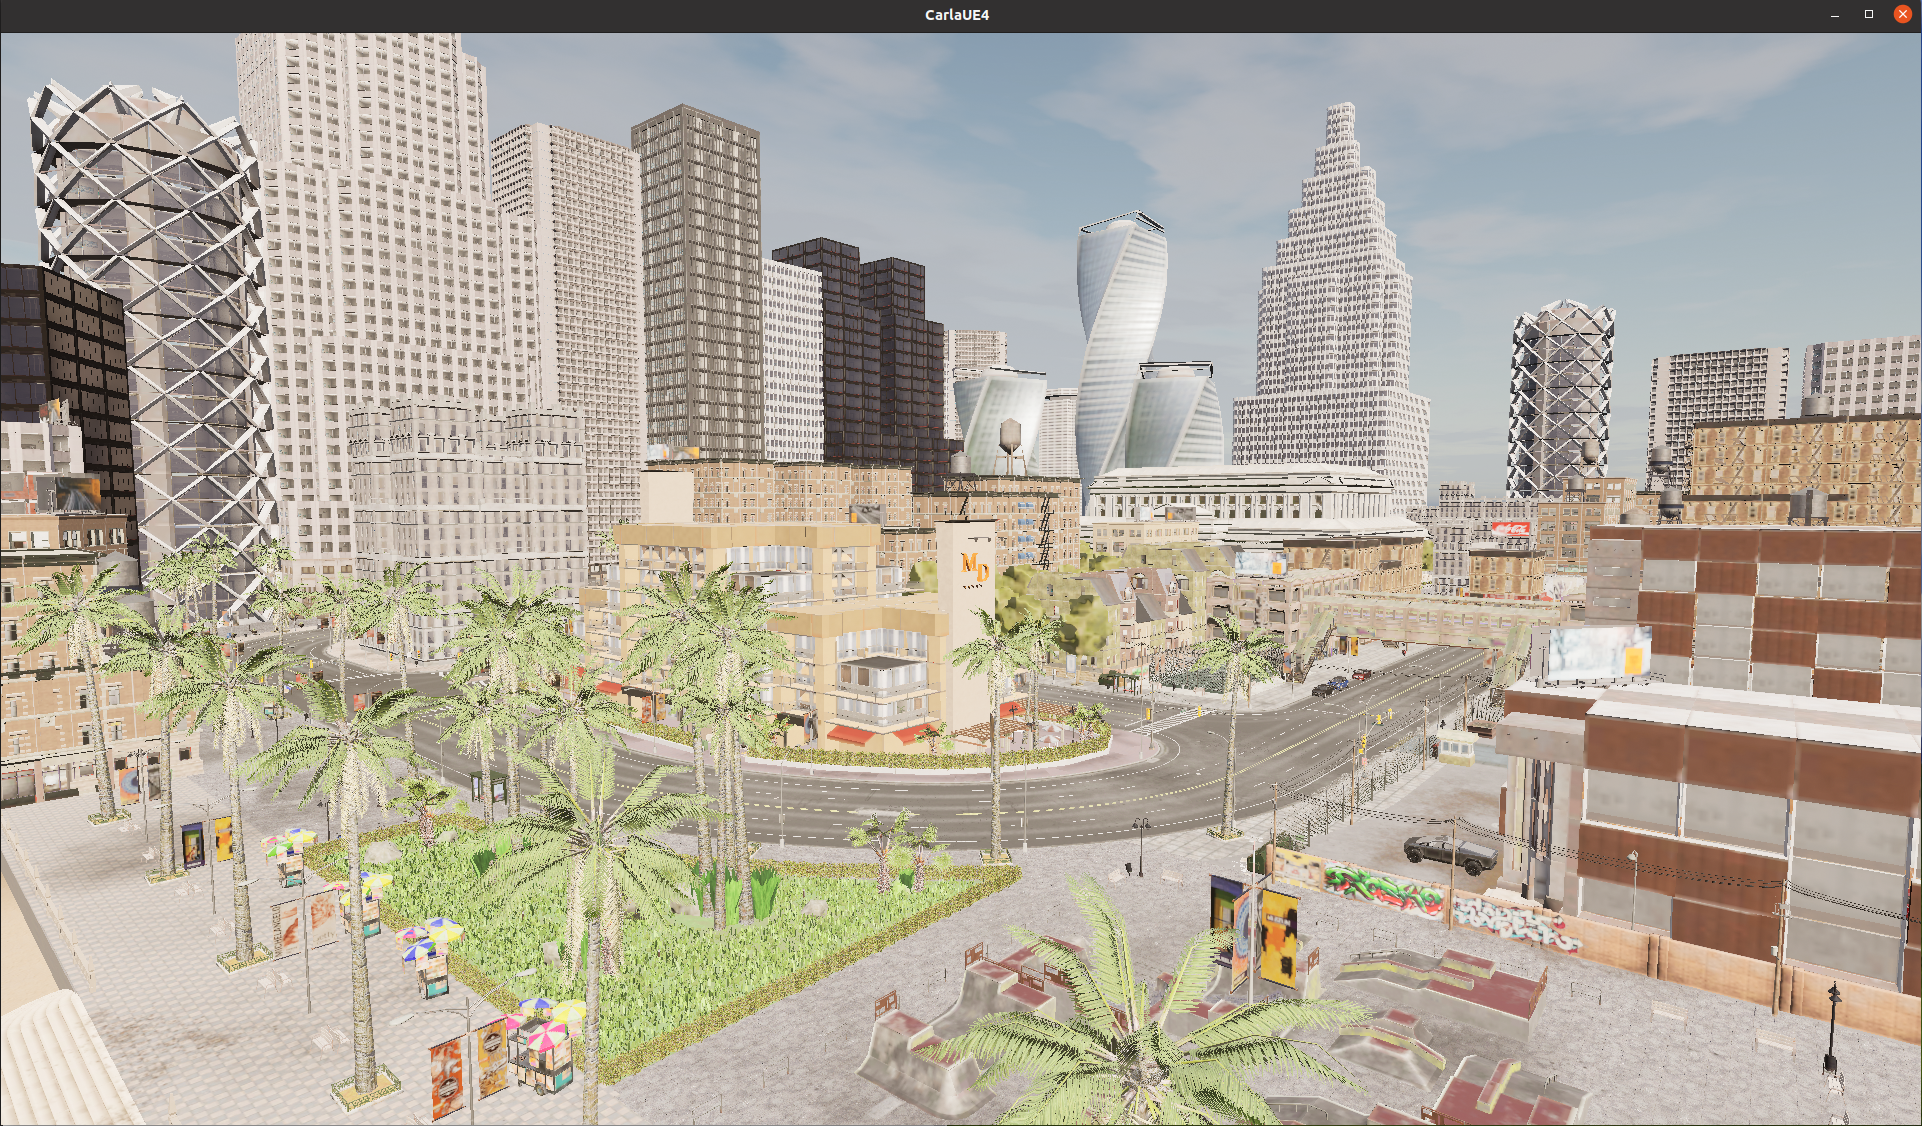
저사양모드의 경우 다음과 같이 나타나며, bashrc에 추가한 Carla옆에 뭍여넣어주면됨
https://carla.readthedocs.io/en/0.9.13/adv_rendering_options/
Rendering options - CARLA Simulator
This guide details the different rendering options available in CARLA, including quality levels, no-rendering mode and off-screen mode. It also explains how version 0.9.12 of CARLA differs from previous versions in these respects. Starting from version 0.9
carla.readthedocs.io
여기를 보면 다양한 렌더링 옵션이 있음..
다양한 옵션이 있는데, PythonAPI의 util에 있는 config.py 파일을 건들이면 됨.

sudo apt install python-is-python3이걸로 일단 해결을 해본다.

이런식으로 명령어 집합을 볼 수 있다. 도큐먼트에서 나온대로 날씨를 바꿔보거나 시간을 바꿔보거나 맵을 바꿔보자.

렌더링을 종료하는 옵션이며, 없애면 검정화면으로 변한다.

다음의 명령어를 사용하면 날씨와 사용가능한 맵을 볼 수 있다.

비가 오게 하거나,

비가오는 밤을 만드거나..

맵을 변경해보거나할 수 있다.
./config.py --map Town05
| (CARLA) 3. segmentation 정보나 Bounding Box를 얻기 (0) | 2023.04.30 |
|---|---|
| (CARLA) 2. 도로의 Traffic을 제어하는 방법 (0) | 2023.04.30 |
| (CARLA) 1. PythonAPI를 이용해서 CARLA 사용하기 (0) | 2023.04.30 |
| (Ubuntu) 우분투에 CARLA 설치하는 방법 및 활용법 (0) | 2023.04.30 |
| 우분투 20.04에 carla build 파일을 설치해보자. (김 주의) (0) | 2023.01.10 |