https://carla.readthedocs.io/en/latest/tuto_first_steps/
First steps - CARLA Simulator
First steps with CARLA The CARLA simulator is a comprehensive solution for producing synthetic training data for applications in autonomous driving (AD) and also other robotics applications. CARLA simulates a highly realistic environment emulating real wor
carla.readthedocs.io
Foundations - CARLA Simulator
This page introduces the fundamental concepts required to understand how the CARLA server and client operate and communicate through the API. CARLA operates using a server-client architecture, whereby the CARLA server runs the simulation and instructions a
carla.readthedocs.io
이 글에서는 위의 듀토리얼에 대한 설명이며, CARLA의 표준 워크플로우를 다룹니다.
준비물
1. CARLA
2. VScode 혹은 Jupyter notebook
CARLA를 실행시킵니다.
cd /opt/carla-simulator
./CarlaUE4.sh
CARLA에서는 World(server)와 Client라는 개념이 등장합니다. world는 위에 실행되고 있는 CARLA이며, Client는 명령을 내리는 VScode(Jupyter notebook)입니다.
현재 작성되는 글은 20.04기준이며, VScode를 기준으로 설명합니다.
sudo apt install -y python3.8-venv
sudo apt install jupyter jupyter-core
pip install carla
mkdir ws
cd ws
mkdir carla_ws
code ..
VScode에서 carla를 import하여 동작을 확인합니다.

그리고 다음을 입력하면 world와 client가 서로 연결된 상태로 CARLA에 명령을 내릴 수 있습니다.
import carla
import random

# Connect to the client and retrieve the world object
client = carla.Client('localhost', 2000)
world = client.get_world()
이제 CARLA의 MAP을 바꿔봅시다.
client.load_world('Town05')
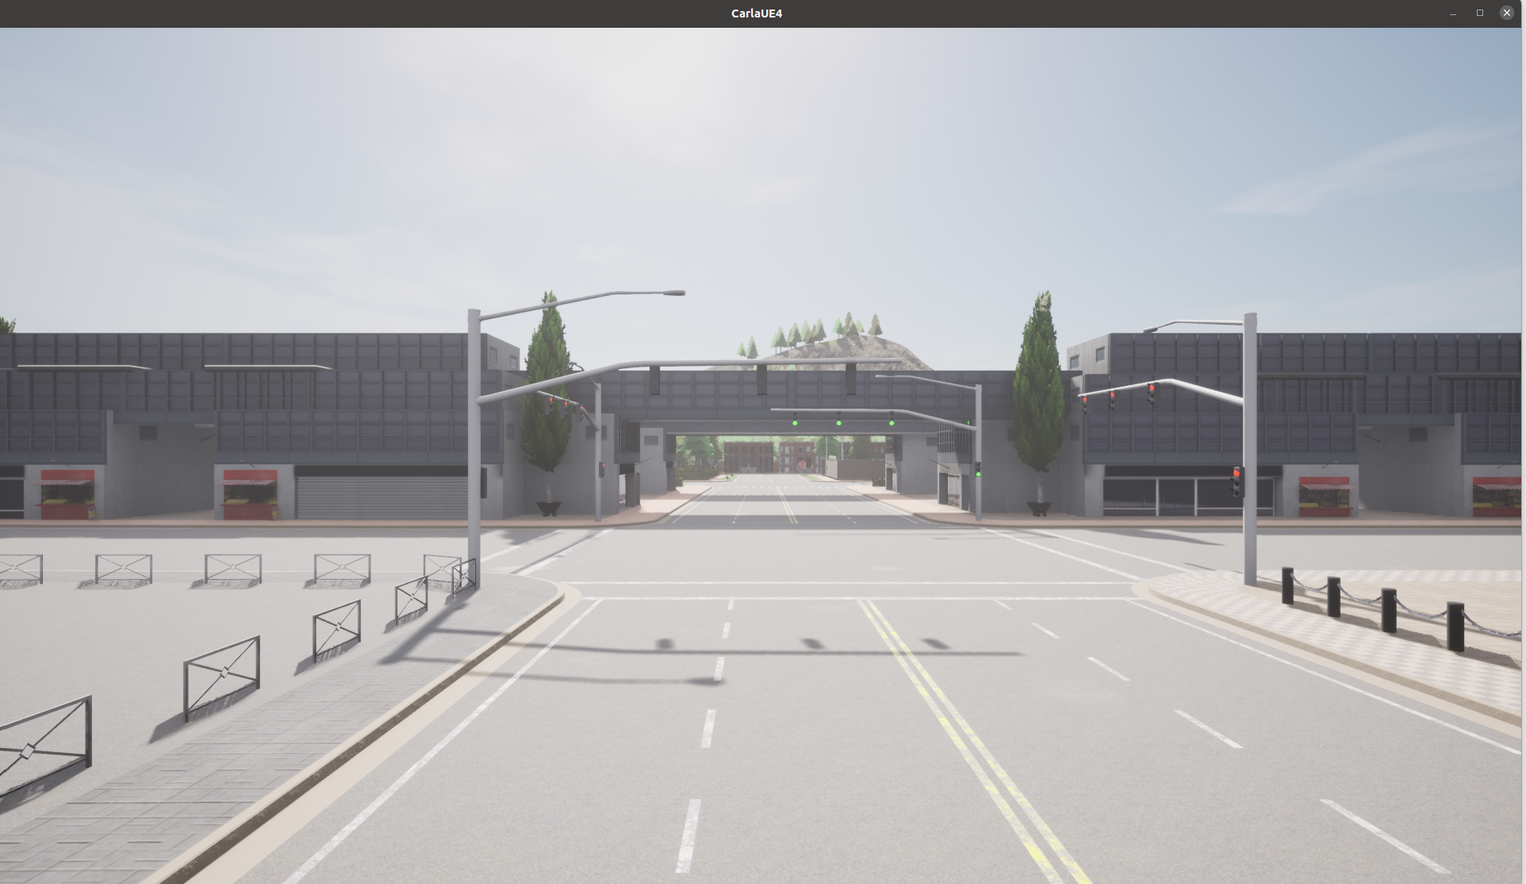
다음처럼 5번째 맵으로 변경되는 것을 볼 수 있습니다.
(참고로 1번째 맵이 가장 많이 활용됩니다.)
추가로 World에서의 조작은 WSAD로 움직이면 됩니다. Q를 누르면 위쪽으로 이동하고, E를 누르면 아래쪽으로 이동한다고 합니다.
# Retrieve the spectator object
spectator = world.get_spectator()

# Get the location and rotation of the spectator through its transform
transform = spectator.get_transform()

location = transform.location
rotation = transform.rotation

# Set the spectator with an empty transform
spectator.set_transform(carla.Transform())
# This will set the spectator at the origin of the map, with 0 degrees
# pitch, yaw and roll - a good way to orient yourself in the map
다음의 코드를 입력하면 맵의 원점으로 이동합니다.
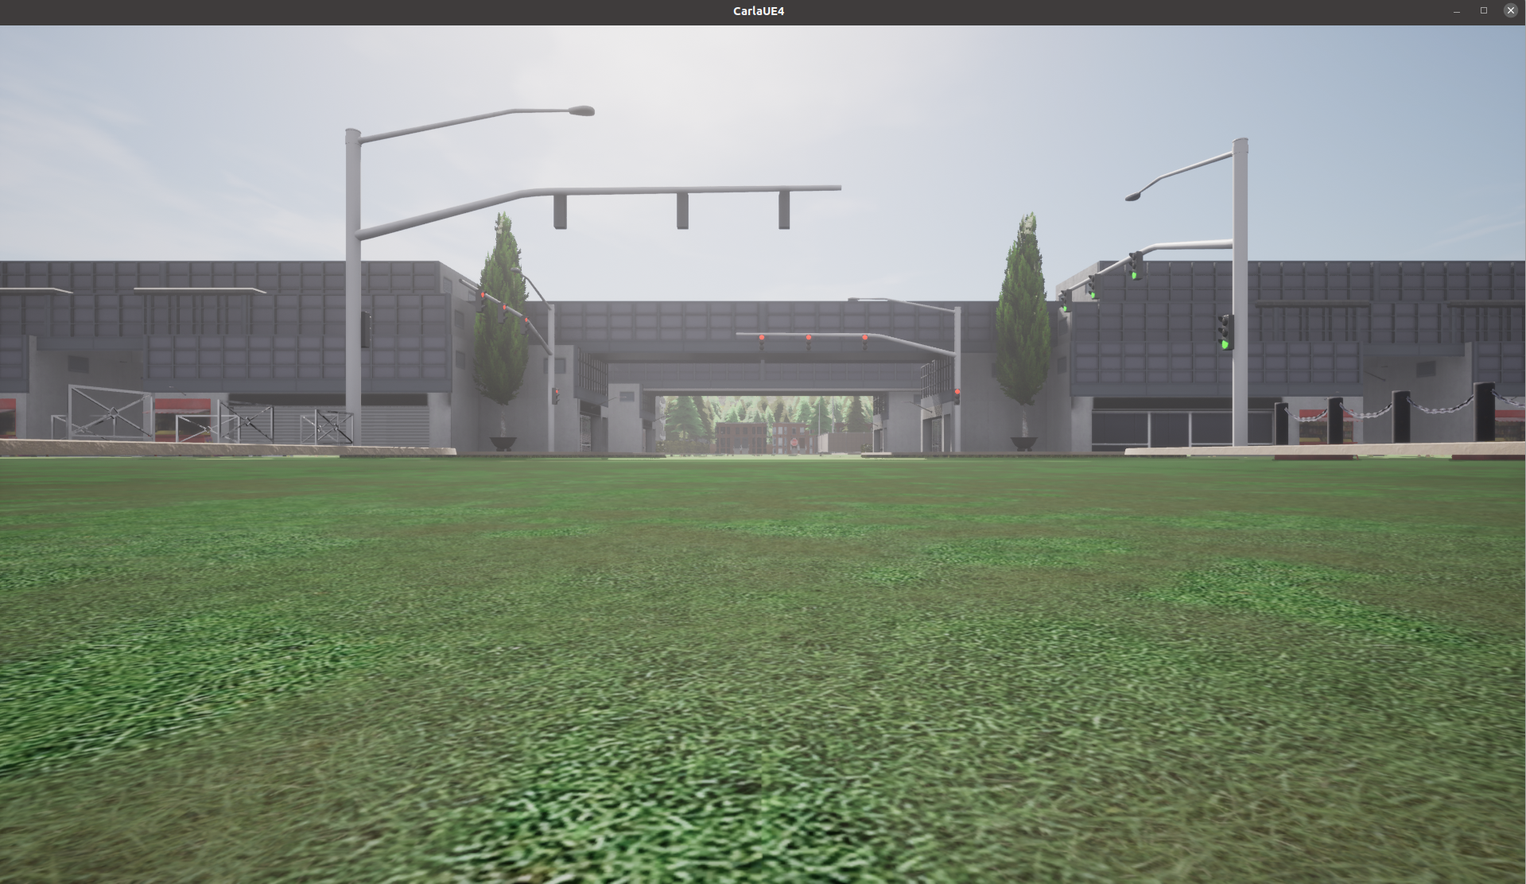
이제 World에 객체를 소환해봅시다. CARLA에서는 움직이는 객체를 NPC라고 부르는 것으로 보입니다.
# Get the blueprint library and filter for the vehicle blueprints
vehicle_blueprints = world.get_blueprint_library().filter('*vehicle*')
블루 프린트(언리얼엔진에서 사용하는 용어)에서 차량을선택합니다. 이 차량을 이제 곧곧에 스폰하는 방법입니다.
# Get the map's spawn points
spawn_points = world.get_map().get_spawn_points()

# Spawn 50 vehicles randomly distributed throughout the map
# for each spawn point, we choose a random vehicle from the blueprint library
for i in range(0,50):
    world.try_spawn_actor(random.choice(vehicle_blueprints), random.choice(spawn_points))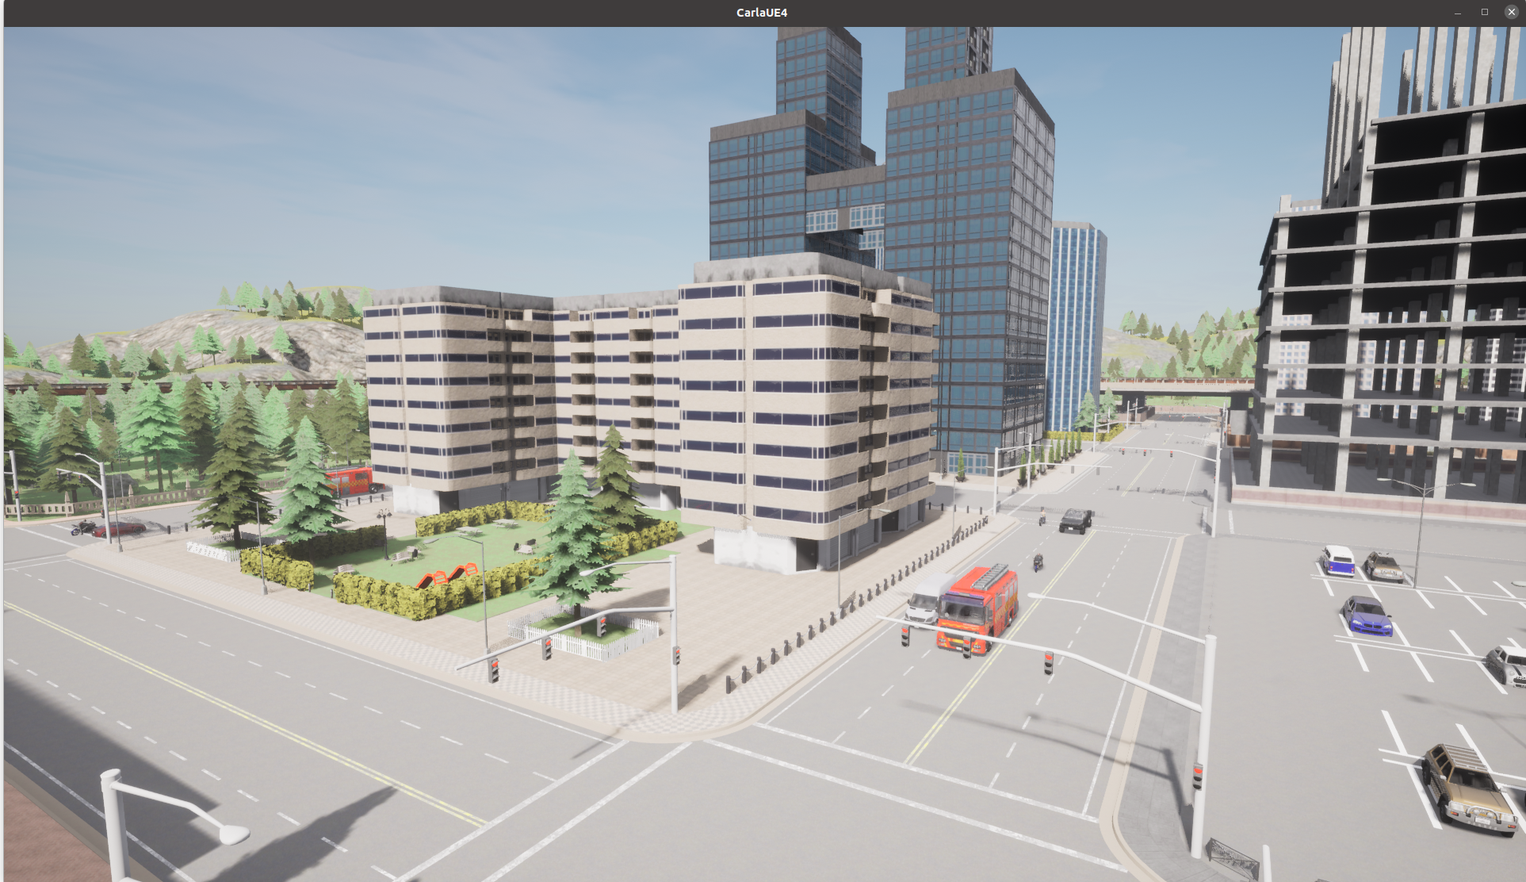
코드대로 50대의 차량이 도로에 스폰됩니다.
아직은 자동차가 움직이거나 하지 않습니다.
(주차장에 있는 자동차는 아닙니다.)
이제 우리가 운전할 차량을 스폰합니다. CARLA에서는 이 차량을
Ego_vehicle이라고 부릅니다.
ego_vehicle = world.spawn_actor(random.choice(vehicle_blueprints), random.choice(spawn_points))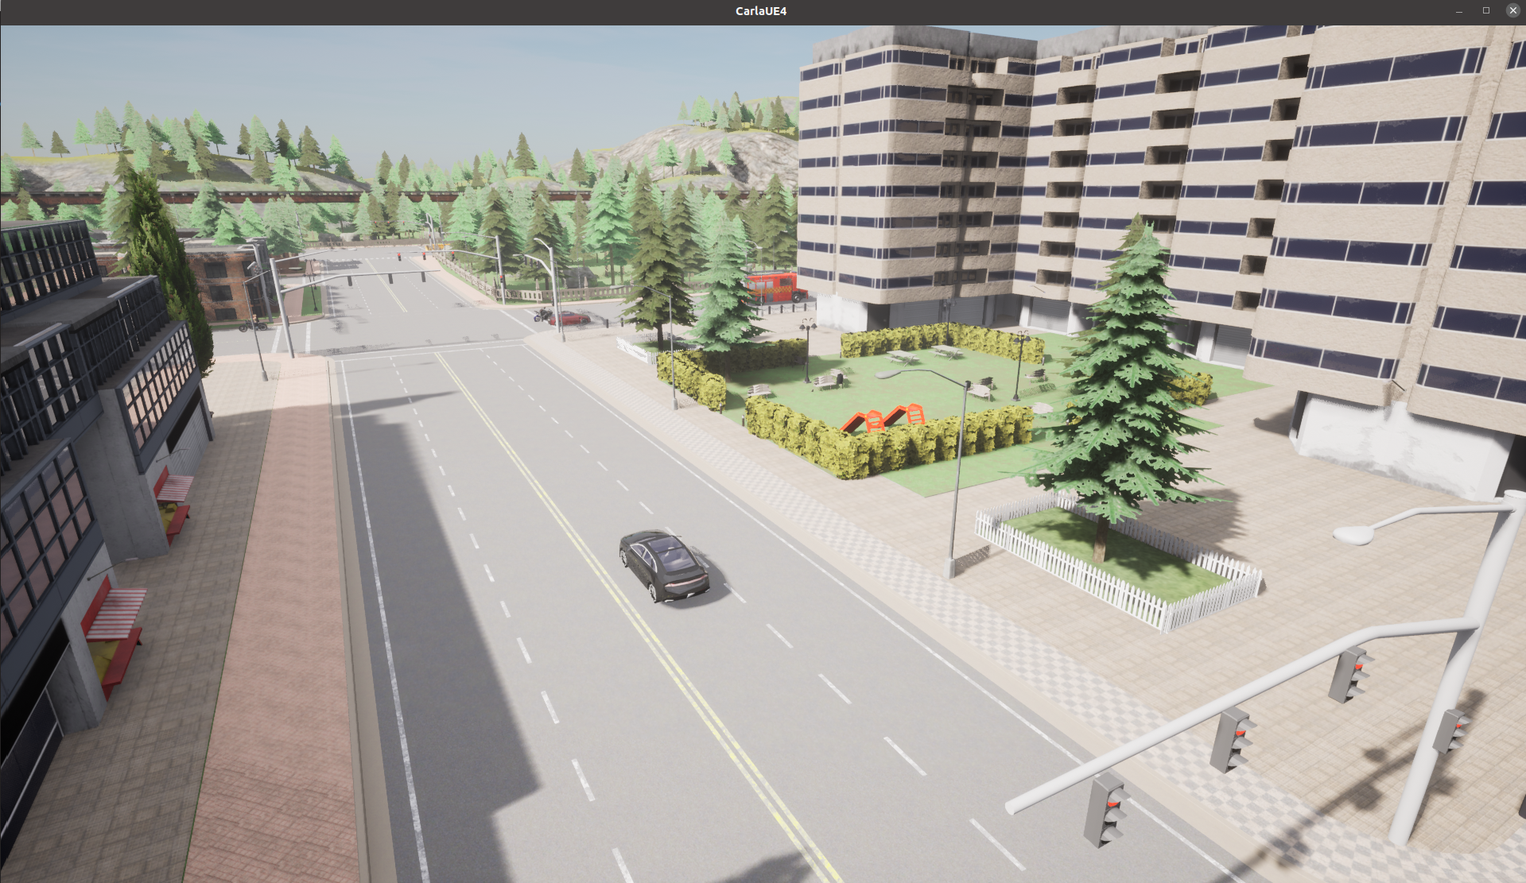
자동차가 스폰됩니다.
그러면 이 차량에 부착되어 있는 센서를 확인해봅시다. 자동차에 달린 전방카메라의 값을 받아옵시다.
# Create a transform to place the camera on top of the vehicle
camera_init_trans = carla.Transform(carla.Location(z=1.5))

# We create the camera through a blueprint that defines its properties
camera_bp = world.get_blueprint_library().find('sensor.camera.rgb')

# We spawn the camera and attach it to our ego vehicle
camera = world.spawn_actor(camera_bp, camera_init_trans, attach_to=ego_vehicle)
자동차에 카메라를 생성하고
# Start camera with PyGame callback
camera.listen(lambda image: image.save_to_disk('out/%06d.png' % image.frame))
다음을 입력하면 프레임단위로 PNG 파일을 얻을 수 있습니다. (딥러닝 학습용으로 사용하겠죠?)

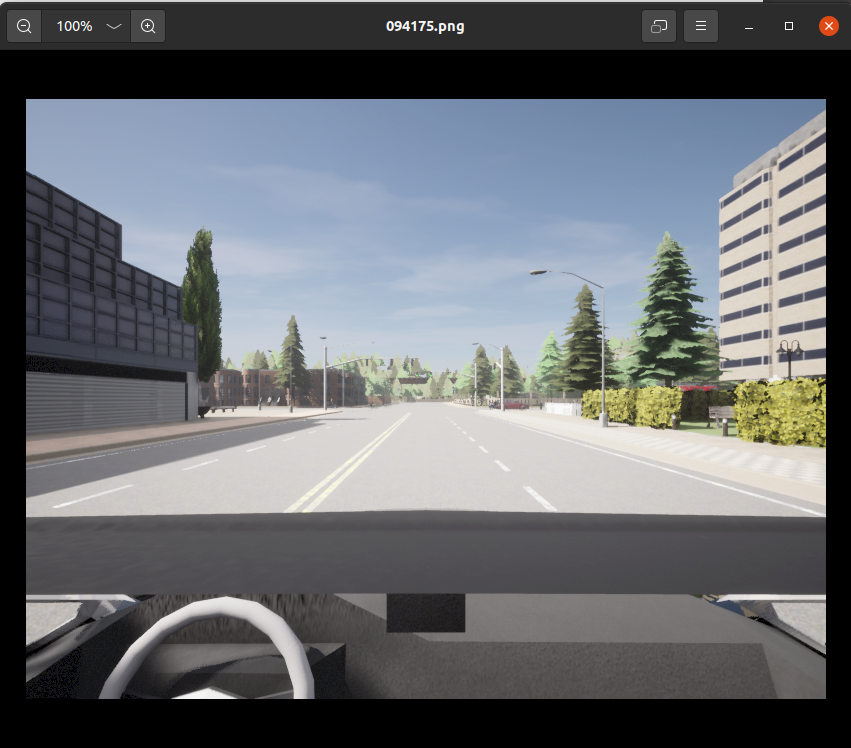
차량 50대를 스폰했었지만 각각의 차량이 이동을 하거나 하지 않습니다. 그러므로 자동차를 움직이게 할 수 있습니다.
for vehicle in world.get_actors().filter('*vehicle*'):
    vehicle.set_autopilot(True)
'공부#Robotics#자율주행 > carla' 카테고리의 다른 글
| (CARLA) 3. segmentation 정보나 Bounding Box를 얻기 (0) | 2023.04.30 |
|---|---|
| (CARLA) 2. 도로의 Traffic을 제어하는 방법 (0) | 2023.04.30 |
| (Ubuntu) 우분투에 CARLA 설치하는 방법 및 활용법 (0) | 2023.04.30 |
| (자율주행 시뮬레이터) 우분투 20.04에 Carla 를 설치하고, 객체를 소환시켜보자. (0) | 2023.03.13 |
| 우분투 20.04에 carla build 파일을 설치해보자. (김 주의) (0) | 2023.01.10 |